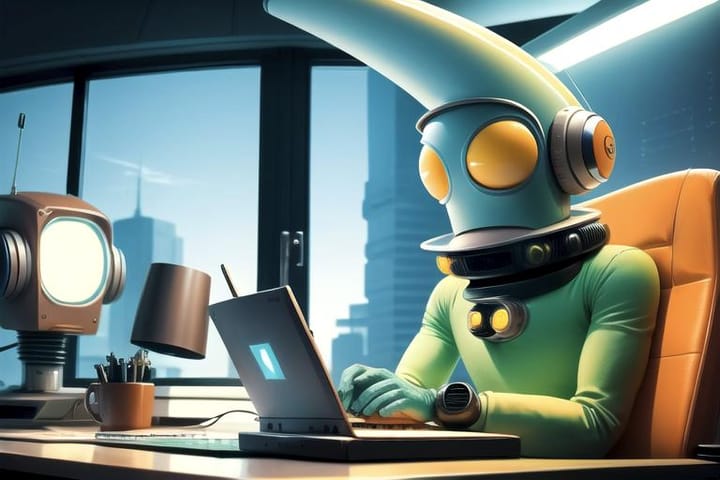
Advancing Consistent Characters: The Power of FaceSwap Lab

FaceSwap Lab
There was a project that was previously called Roop, but the project has been discontinued (for some odd reasons, that we will leave to the Internet to figure out). Enter the new FaceSwap Lab, which expands on the original project and gives you more a more enhanced toolset to play with.
We will be taking the images we generated in the "Create an Embedding" article to build our own faceswap checkpoint. We will then use the A1111 extension to keep a consistent face across all image generations for our character.
Steps we will take in this article:
- Copy images, or generate new
- Install the FaceSwap extension
- Build a face based on a batch list of images
- Test the new checkpoint
Copy images, or generate new
In the previous articles on Consistent Characters we created a character named Kateřina. You will need to follow the section named "Generating input images" in order to generate some images for the faceswap batch process in this article.
If you already walked through the previous articles, you can use the images_to_train_on directory for images in the next step.
Previous Articles:
 BitsofJeremy
 BitsofJeremy
Install the FaceSwap extension
Follow the "Manual Install" section in the FaceSwap Lab's documentation to install the extension into A1111.
Manual Install Guide:
https://glucauze.github.io/sd-webui-faceswaplab/install/
To install the extension, follow the steps below:
Open the web-ui application and navigate to the “Extensions” tab.
Use the URL https://github.com/glucauze/sd-webui-faceswaplab in the “install from URL” section.
You may need to restart sd once the installation process is complete.
On the first launch, the templates are downloaded, which may take some time. All models are located in the models/faceswaplab folder.
If you encounter the error 'NoneType' object has no attribute 'get' in your terminal, take the following steps:
Download the inswapper_128.onnx model.
https://huggingface.co/henryruhs/faceswaplab/resolve/main/inswapper_128.onnx
Place the downloaded model inside the <webui_dir>/models/faceswaplab/ directory.
We highly recommend that you completely stop and restart A1111 in order to refresh everything.
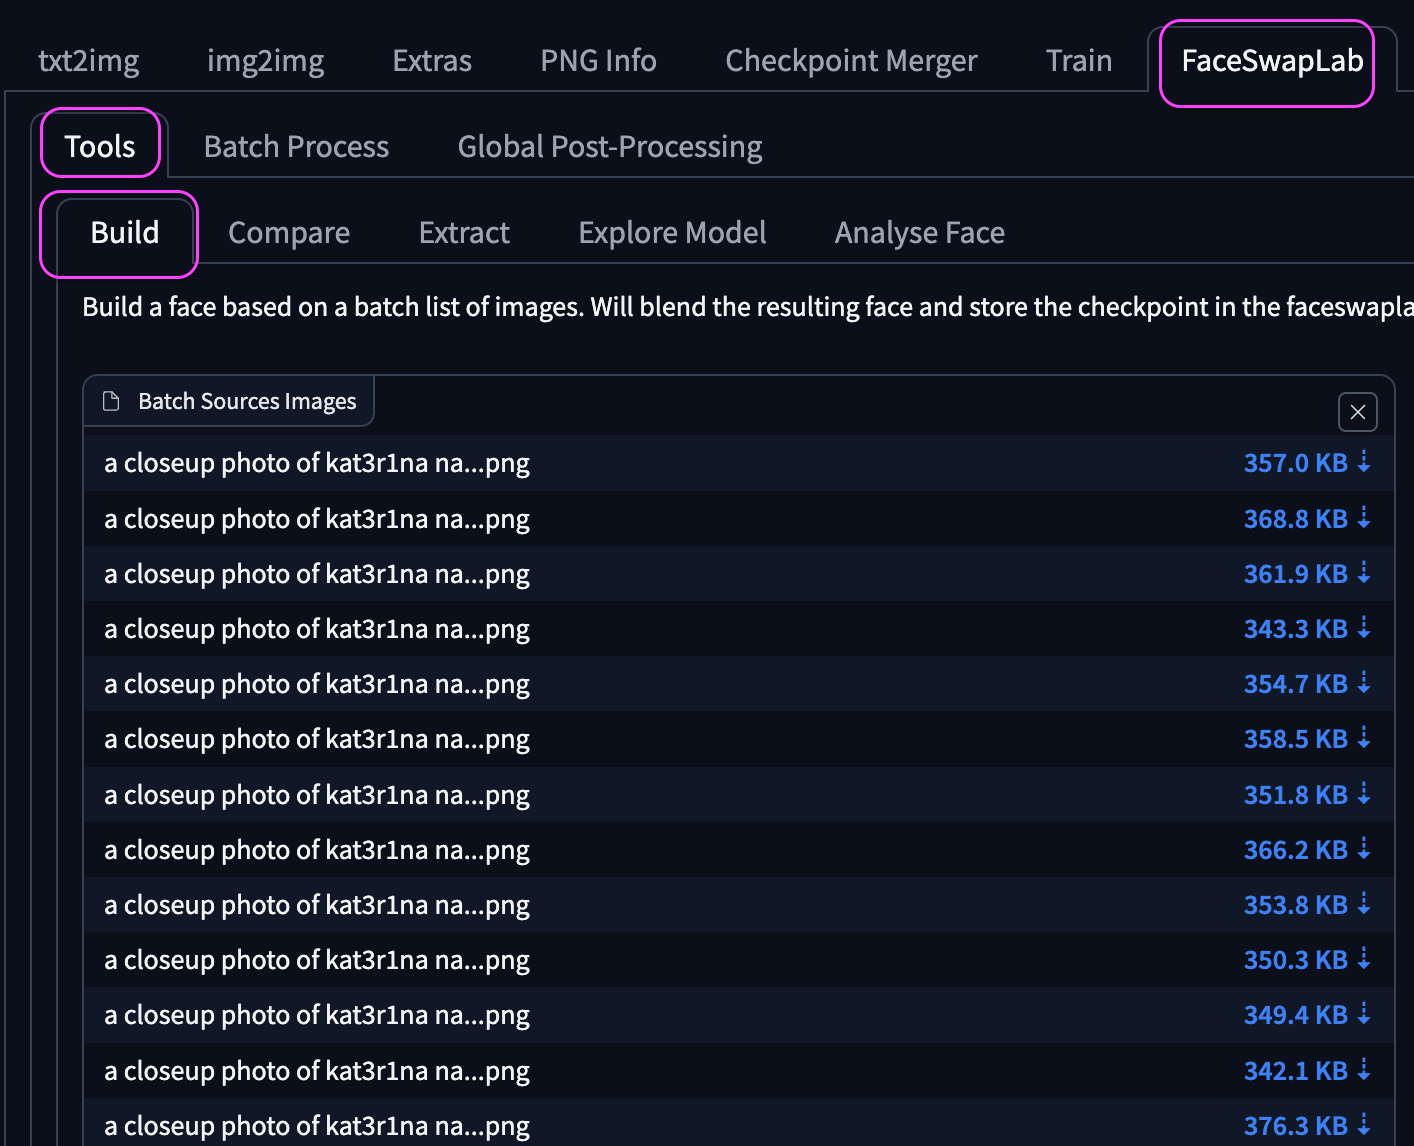
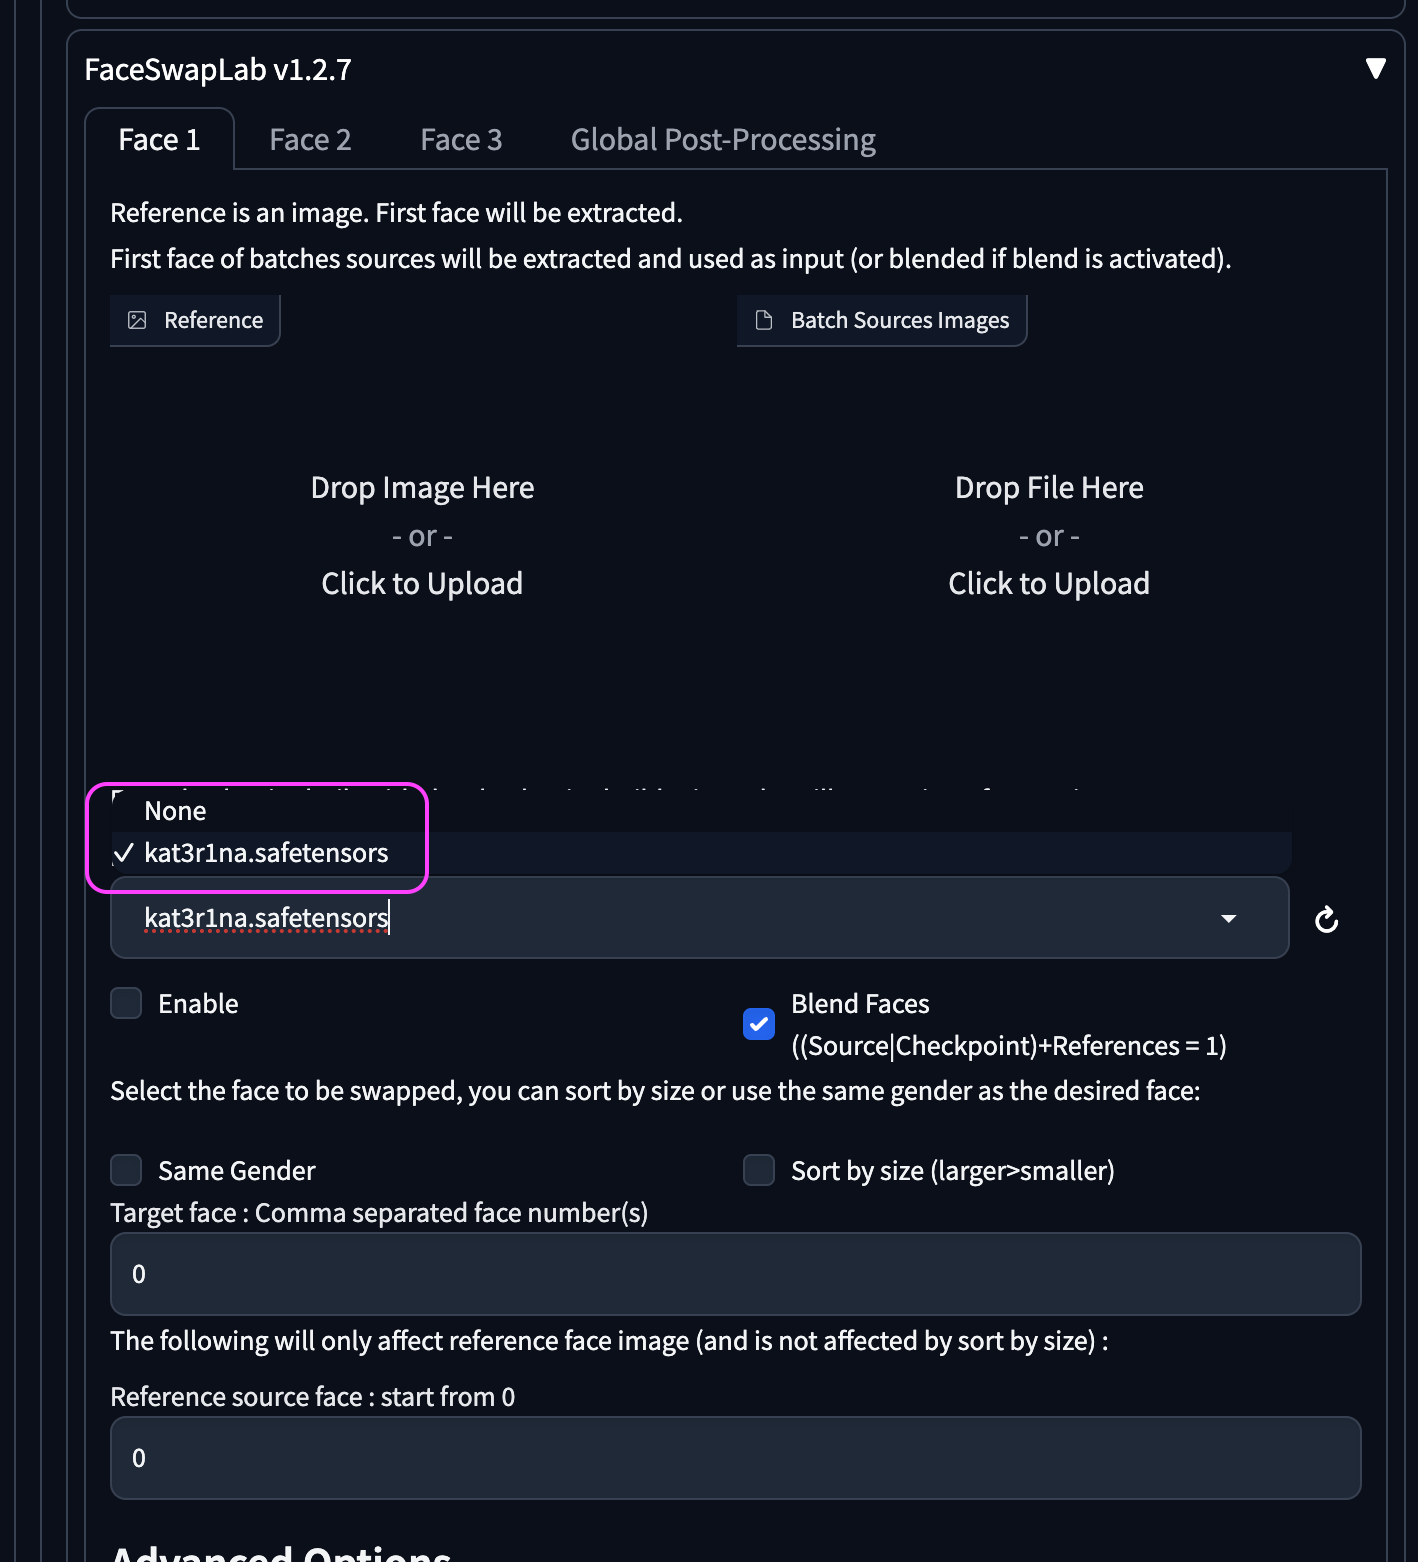
Build a face based on a batch list of images
The FaceTools tab in A1111 now allows for creating checkpoints, which facilitate face reuse in txt2img and img2img. When a checkpoint is used, it takes precedence over the reference image, and the reference source image is discarded.
All checkpoints are stored in models/faceswaplab/faces.
We will be using the images with the labeled an extreme closeup photo in order to produce the checkpoint.
Open the FaceSwapLab tab, and then tools, and then build tab.
Select all of the images that start with an extreme closeup photo in the original images_to_train_on directory.
Note: you can try the others, but they all build about the same checkpoint, we tried both. The full body shots will produce a checkpoint further off from your original intention in character consistency.
Name your checkpoint, and choose your gender, then hit save to run the training.

Training is fairly quick.
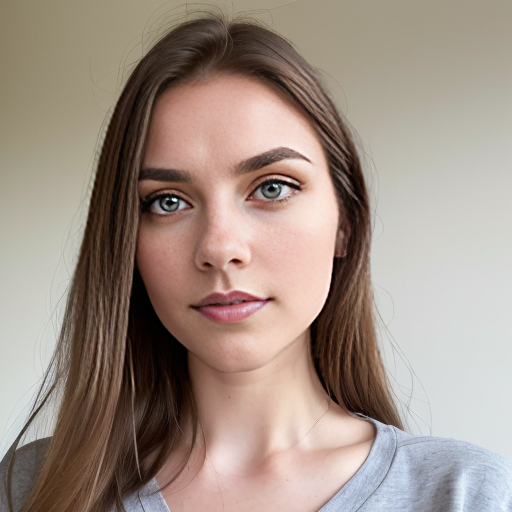
Your new face will appear in the right hand panel.
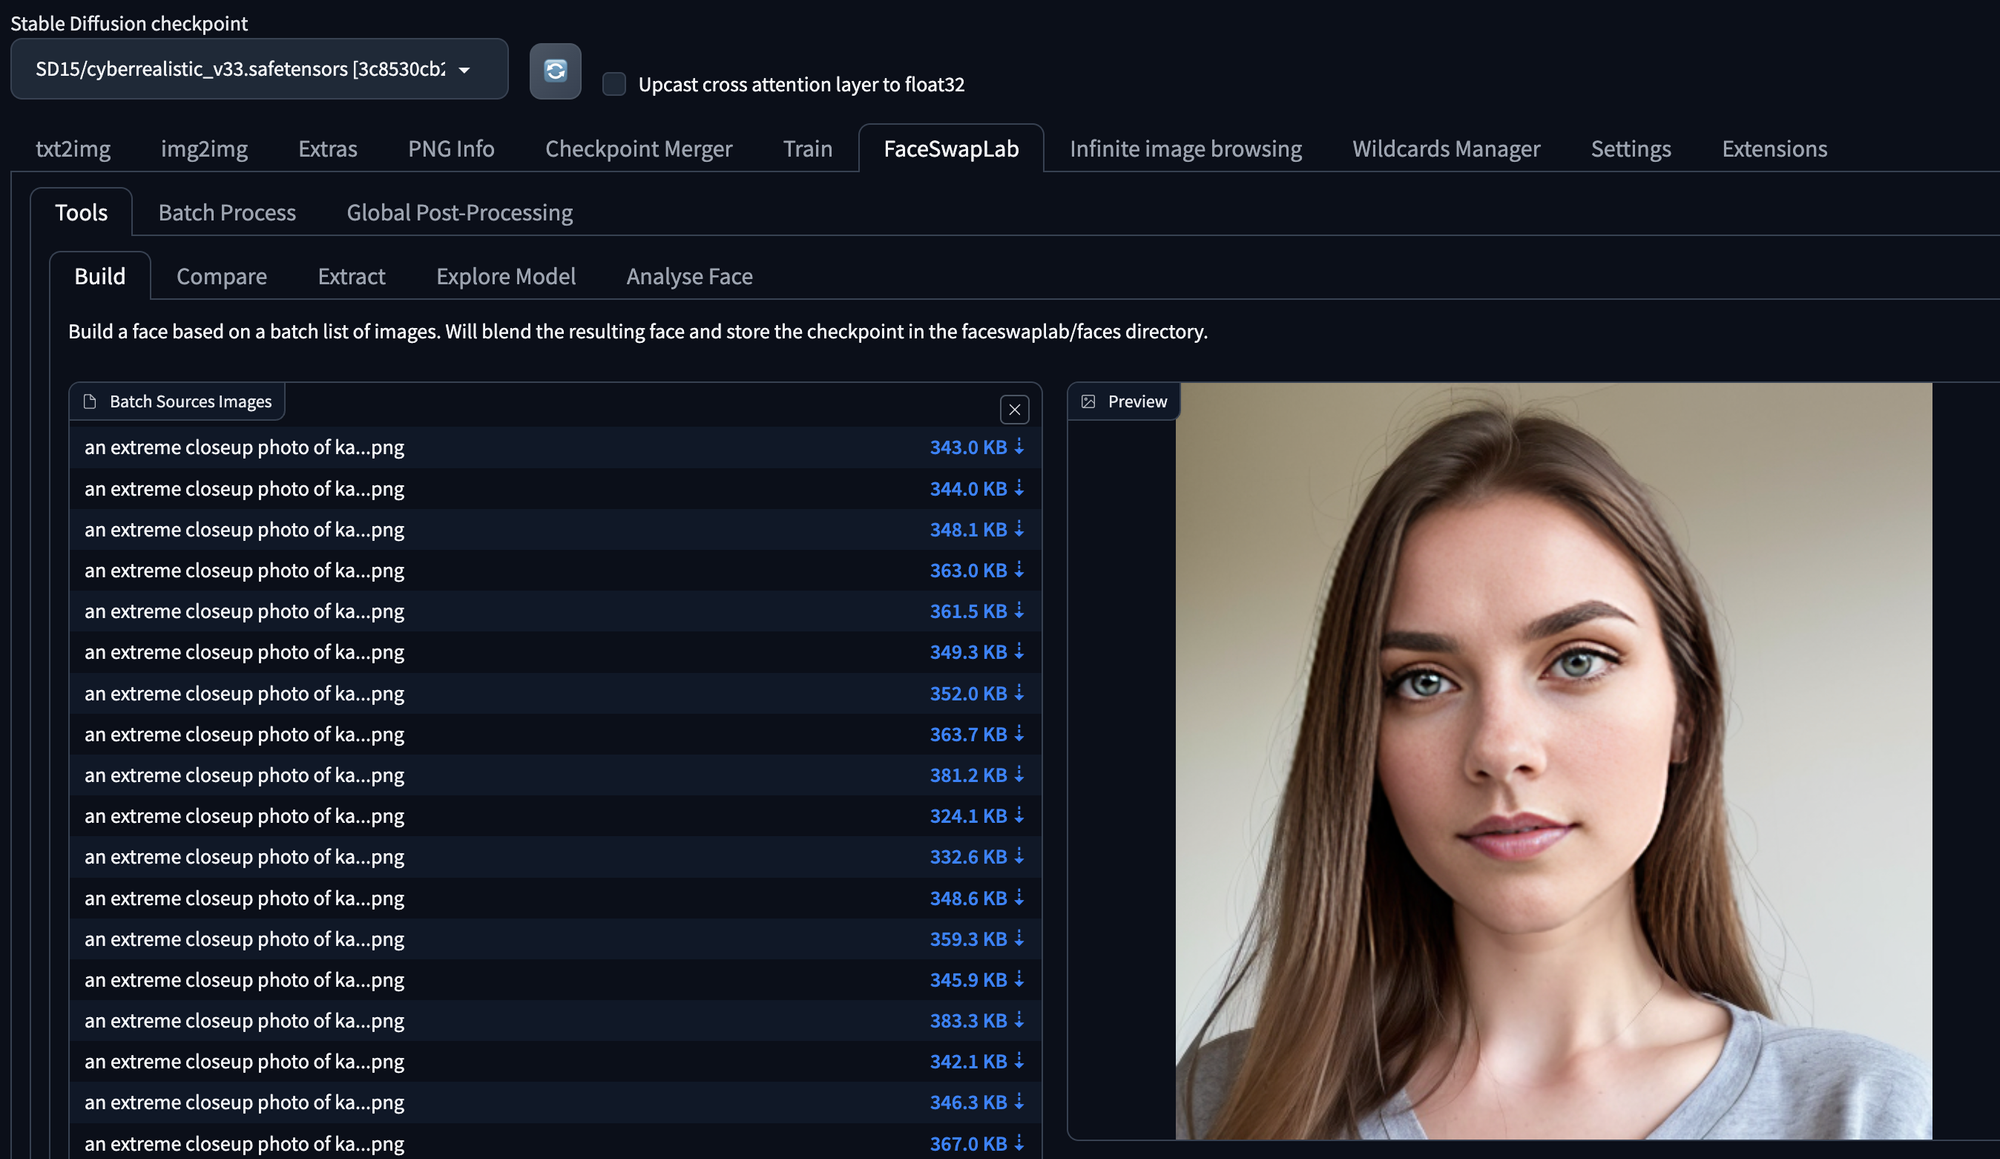
We will now have a safetensors checkpoint file available to work with in the txt2img tab
Let's test it out!
Test the new checkpoint
Enable the extension and generate an image.
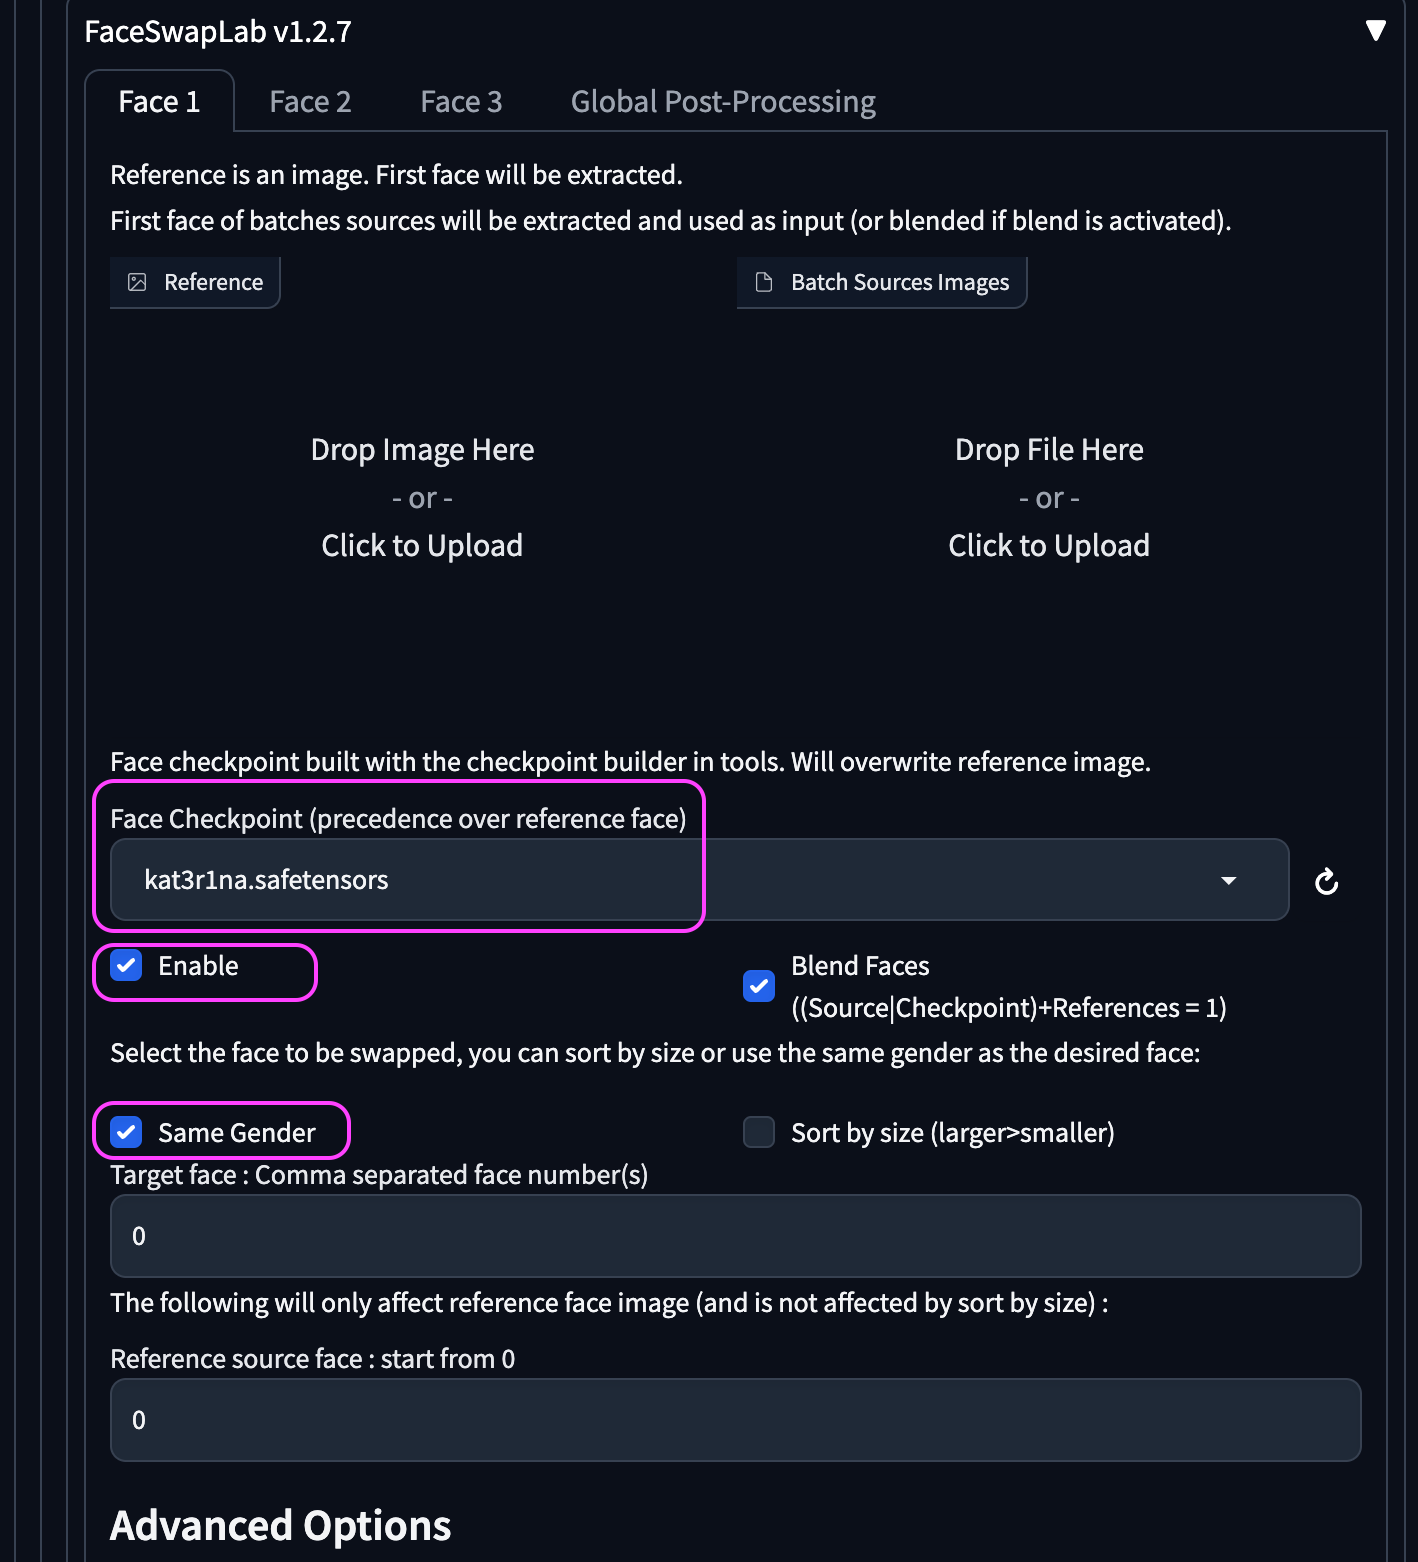
We generally do not touch the advanced settings as the defaults seem to work fine in the extension.
For this test we are generating a photo of a young Czech woman in Prague, then we generate again using the same settings and seed, but this time enabling the FaceSwap extension. Putting both images side by side so you can see the difference.
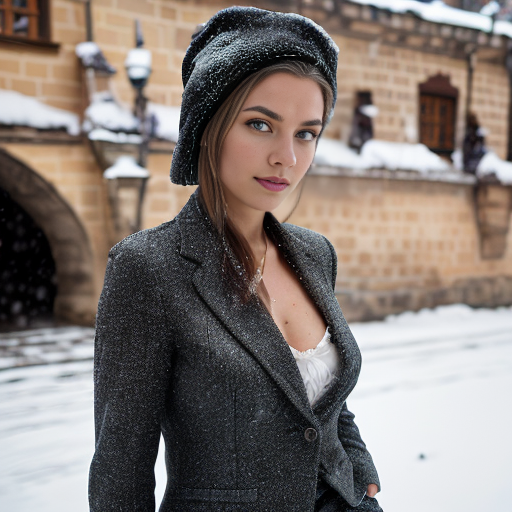

Kateřina on the left, random character on the right.
Note: With anime and other cartoonish type art generations, you get "real" faces in in the anime image, so it is best to avoid that style of art with this process.
Prompt used:
(70mm f2:1.5), A closeups photograph of a beautiful young Czech woman, (professional clothing style:1.5), (Prague:1.2), outdoors, neon rim light, (vibrant light:1.2), snowing
Negative prompt: lowres, bad anatomy, bad hands, text, error, missing fingers, extra digit, fewer digits, cropped, worst quality, low quality, normal quality, jpeg artifacts, signature, watermark, username, blurry
Steps: 20, Sampler: DPM++ SDE Karras, CFG scale: 7, Seed: 580307158, Face restoration: CodeFormer, Size: 512x512, Model hash: 15012c538f, Model: realisticVisionV51_v51VAE, Clip skip: 2, Version: v1.6.0-2-g4afaaf8a
Another Extension Arrives
While researching this article a new extension came across our desk called ReActor, which also swaps faces using the same "inswapper_128.onnx" model. We have both loaded up in our A1111 install, and found that over time we just use FaceSwap more by habit.
Note: To get the extensions to play nice follow the instructions in the GitHub repo.
A view of ReActor installed:

 Gourieff
Final Thoughts
To wrap up, you now have a nice checkpoint to use in your FaceSwapLab extension when generating images of your character. We like to add the embedding we created earlier and FaceSwapLab checkpoint to make sure we get consistent characters in every prompt.
We have one more article in the Consistent Character series and the bonus images below will give you an idea.
We are excited to see your creations, tag us on social media @BitsofJeremy, and show us.
Bonus picture and prompt:
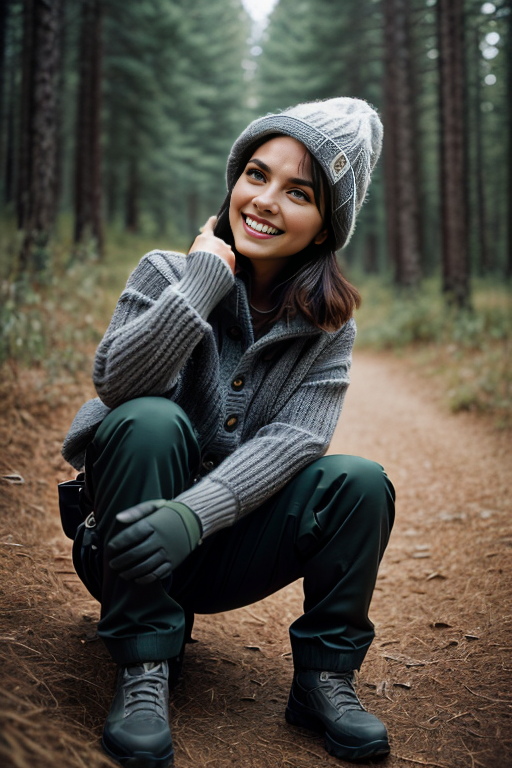
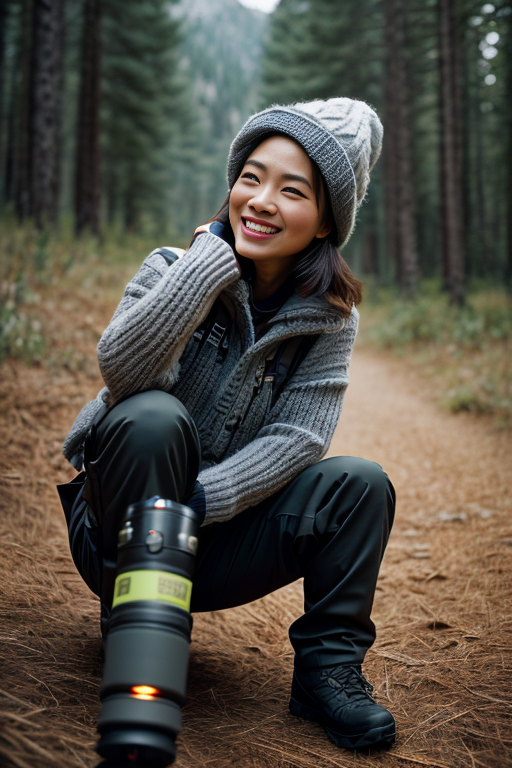
Kateřina on the left, random character on the right.
Prompt:
A model shoot photograph, (upper body:1.0) (selfie:1.1), (happy:1.5), (smiling:1.2), masterpiece, best quality, ultra-detailed, solo, outdoors, (sunny day:1.1), mountains, nature, cheerful, happy, (black cargo pants:1.2), backpack, sleeping bag, camping stove, mountain boots, (gloves:1.1), (grey sweater:1.2), hat, flashlight, forest, rocks, river, wood, smoke, shadows, contrast, clear sky, analog style (look at viewer:1.2) (skin texture) (film grain:1.3), (warm hue, warm tone) :1.2), close up, cinematic light, sidelighting, ultra high res, best shadow, RAW
kodak vision 3
Negative prompt: NSFW, Cleavage, Pubic Hair, Nudity, Naked, Au naturel, Watermark, Text, censored, deformed, bad anatomy, disfigured, poorly drawn face, mutated, extra limb, ugly, poorly drawn hands, missing limb, floating limbs, disconnected limbs, disconnected head, malformed hands, long neck, mutated hands and fingers, bad hands, missing fingers, cropped, worst quality, low quality, mutation, poorly drawn, huge calf, bad hands, fused hand, missing hand, disappearing arms, disappearing thigh, disappearing calf, disappearing legs, missing fingers, fused fingers, abnormal eye proportion, Abnormal hands, abnormal legs, abnormal feet,  abnormal fingers
Steps: 22, Sampler: DPM++ 2M Karras, CFG scale: 9.5, Seed: 1147642201, Face restoration: CodeFormer, Size: 512x768, Model hash: 15012c538f, Model: realisticVisionV51_v51VAE, Clip skip: 2, Version: v1.6.0-2-g4afaaf8a, similarity = {}, ref_similarity = {}