Creating a LoRA from your consistent character
In the last article we created, and filtered out our images together to train an embedding of Kateřina. We will be using those same images to create a LoRA. It is highly recommended that you run through that article to go through the process of generating an embedding first.
 BitsofJeremy
We will be using Google Colab Pro to train the LoRA and Kohya instead of Automatic1111 to run the training.
Links to notebooks we will use in this article:
https://github.com/hollowstrawberry/kohya-colab
Use the "Dataset Maker" and the "Lora Trainer" notebooks. These notebooks are really well documented and you can just walk through each cell.
Like the previous article, your dataset should be really optimized and cleaned up nicely. The more you do to make this a reality, the better your LoRA training will go.
Note: There is also a "Lora making Guide" in the linked GitHub which help us a lot in learning the process:

What the heck is a LoRA anyway?
From HuggingFace:
LoRA (Low-Rank Adaptation of Large Language Models) is a popular and lightweight training technique that significantly reduces the number of trainable parameters. It works by inserting a smaller number of new weights into the model and only these are trained. This makes training with LoRA much faster, memory-efficient, and produces smaller model weights (a few hundred MBs), which are easier to store and share. LoRA can also be combined with other training techniques like DreamBooth to speedup training.
Here are the steps we will be going through to create the LoRA:
- Images from previous article
- Dataset curation with Google Colab Pro
- Open Lora notebook in Google Colab
- LoRA settings
- Create!
- Test!
- Download
Let’s get started.
Images from the previous article
In the embedding article we generated, and filtered our character's image into a directory called image_to_train_on. We will use that same set of images to make the LoRA. If you are lacking images, run through that tutorial again to generate more images.
Upload your training images to your Google Drive under the directory structure: Loras/project_name/dataset
Dataset curation with Google Colab Pro
Our "project_name": kat3r1na
Our "folder_structure": MyDrive/Loras/kat3r1na/dataset
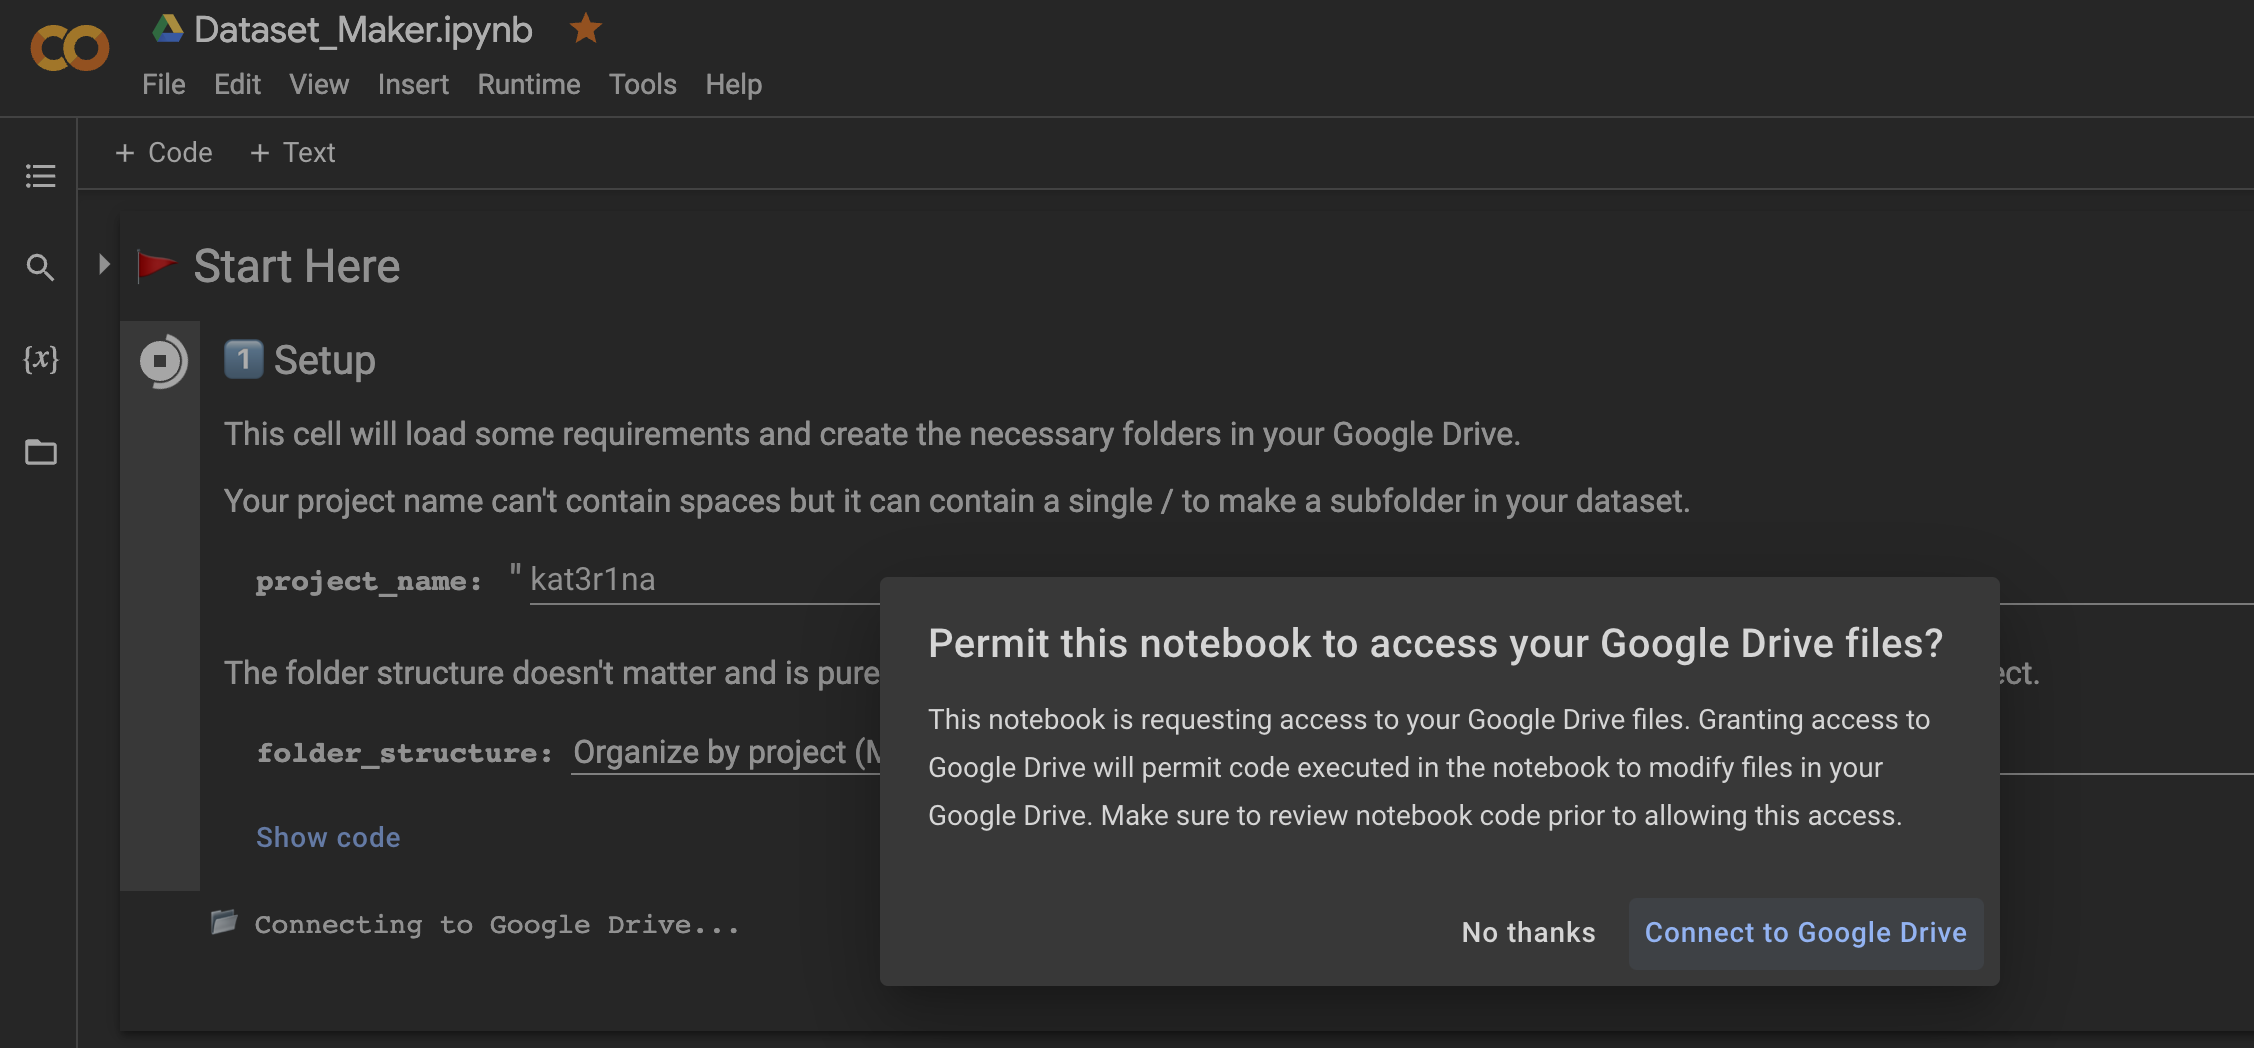
Once your images are uploaded, start your Google Colab instance, this doesn't need to be a super powerful runtime type for our dataset curation as you are mainly looking at the images and tagging them appropriately.
Connect the Notebook to your Google Drive, and set your project name and folder structure.
Follow each prompt in the notebook and follow the instructions and then run the cell. Since we are uploading our own images we do not have to run section two "Scrape images from Gelbooru". We will run section three "Curate your images" as this will use FiftyOne to find images that are the same and remove them.
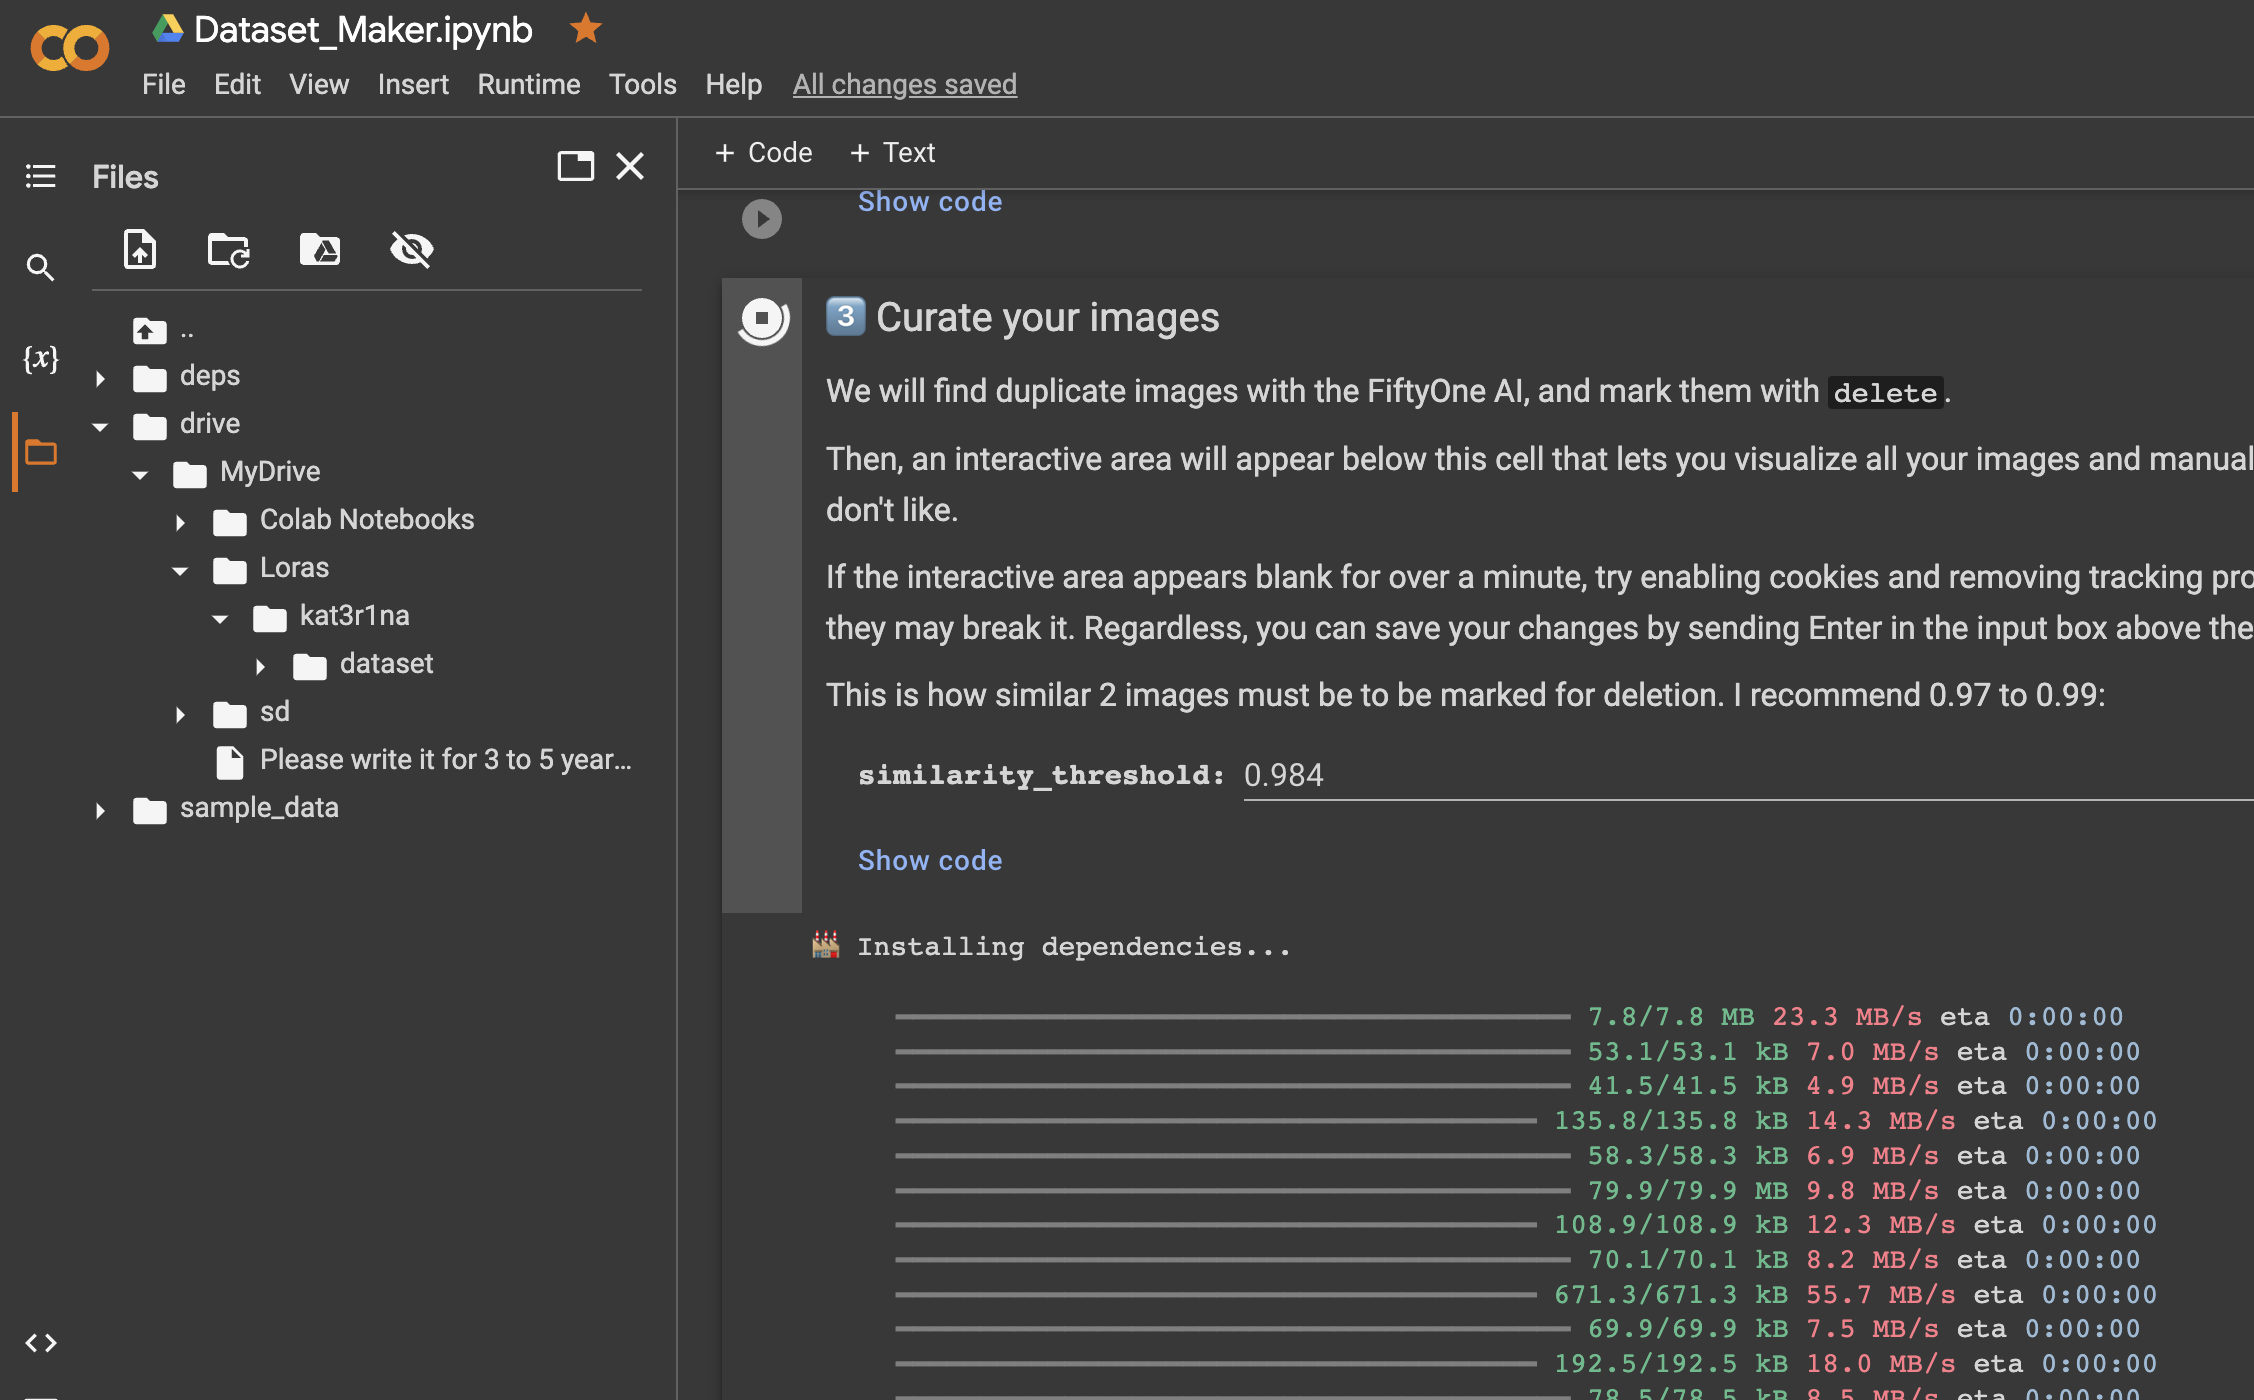
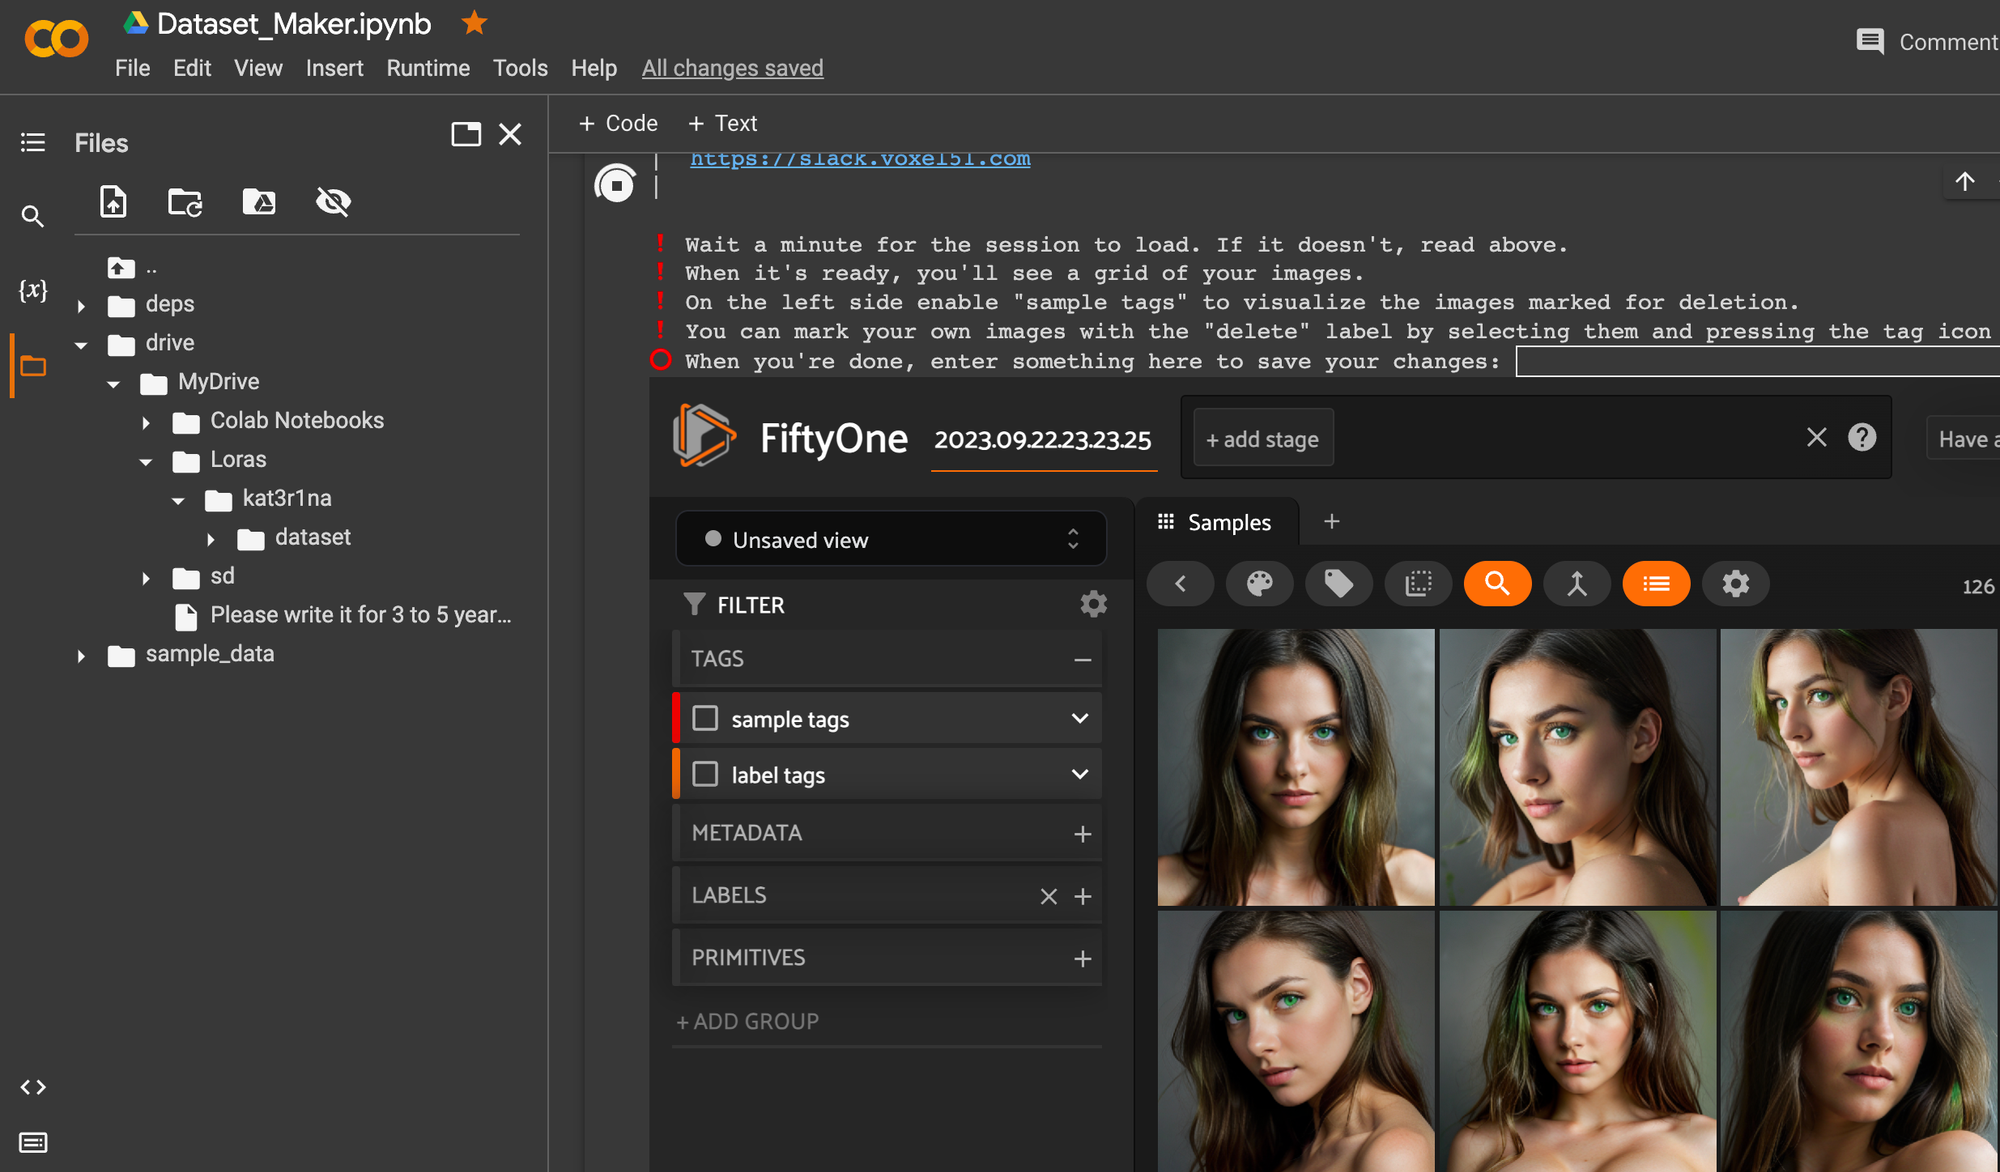
Our results:
"Removed 0 images from dataset. You now have 126 images"
Next run section four: "Tag your images" and set the method to "Photo Captions"
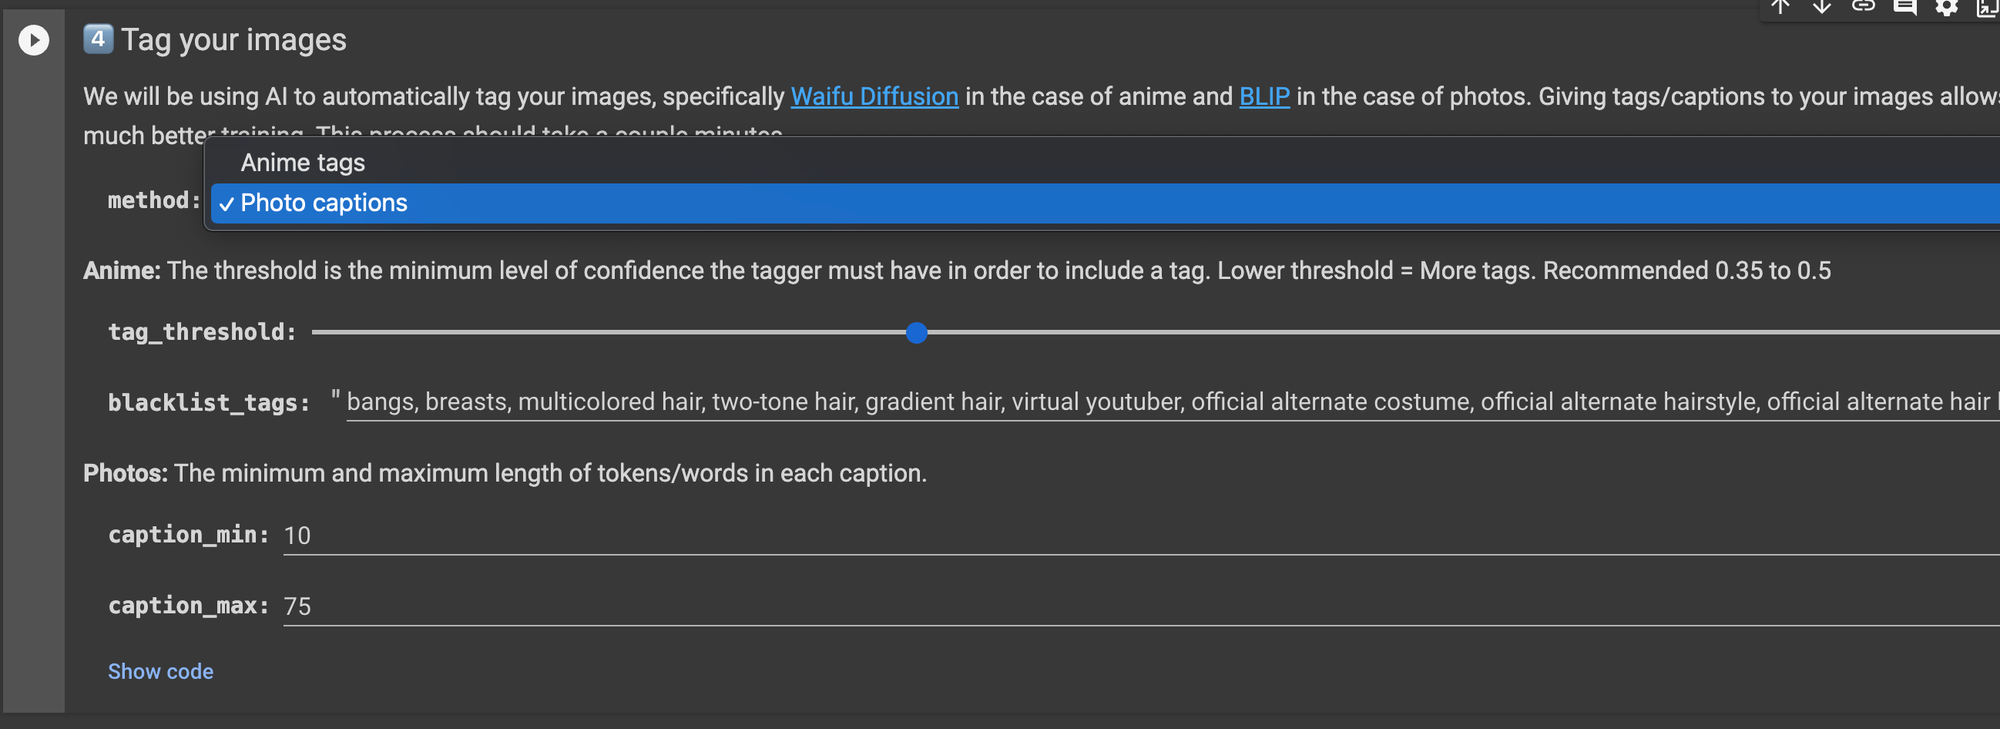
This section uses the AI model BLIP to tag your images.
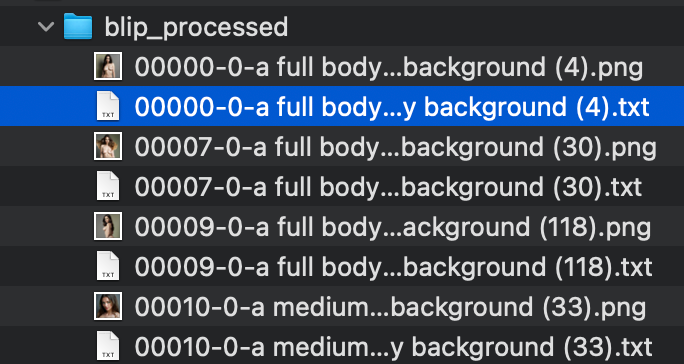
After the tagging, we disconnected the Notebook runtime to save on our precious GPU minutes. We then downloaded all the new text files BLIP created as it was easier to edit them locally than in Google Drive text editor.
You will have a text file with tags for each image, and named the same as the originating image.
Some notes:
Some of the captions were odd, and we needed to edit every file to either delete or add context.
Example: a woman with green eyes and a green plant
Next, we deleted the original directory structure from our Google Drive, and uploaded the NEW files in their place.
Finally we ran section five: "Curate your tags"
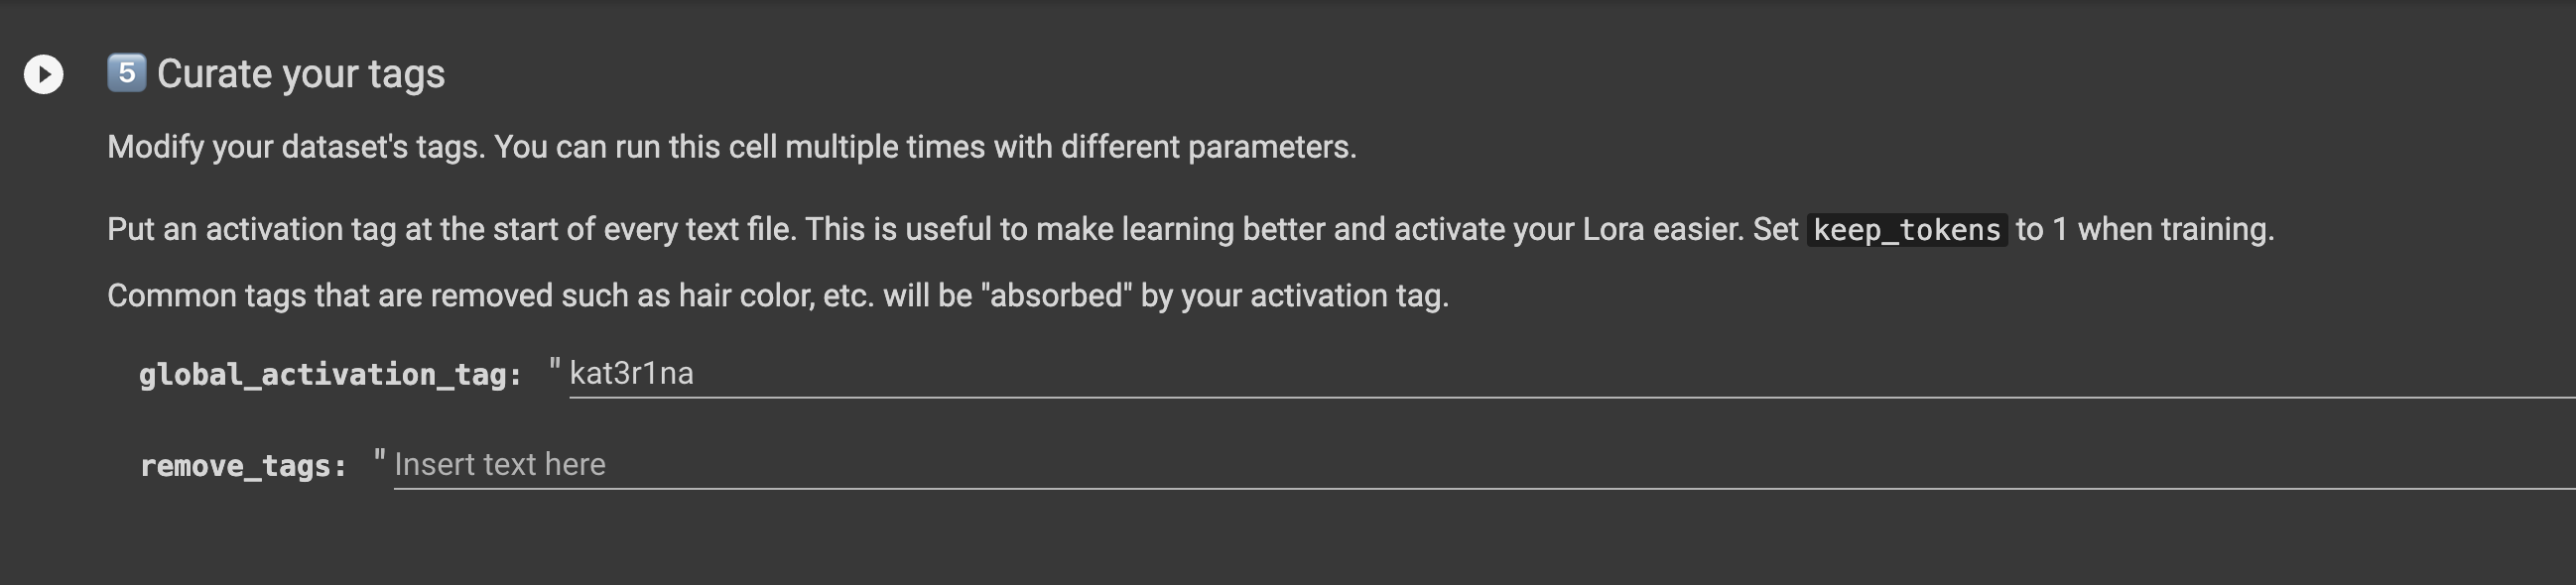
We did this to add kat3r1na at the beginning of each text file.
On to creating the LoRA.
Create!
Open the Lora Trainer notebook.


Connect to a higher end GPU like the V100 or A100 to save time in training.
The only settings we edited in the notebook were the "project_name" to match our directory structure and the Stable Diffusion model as we chose version 1.5 since we are working with photos.
You can start the training with the defaults and see where it takes you.
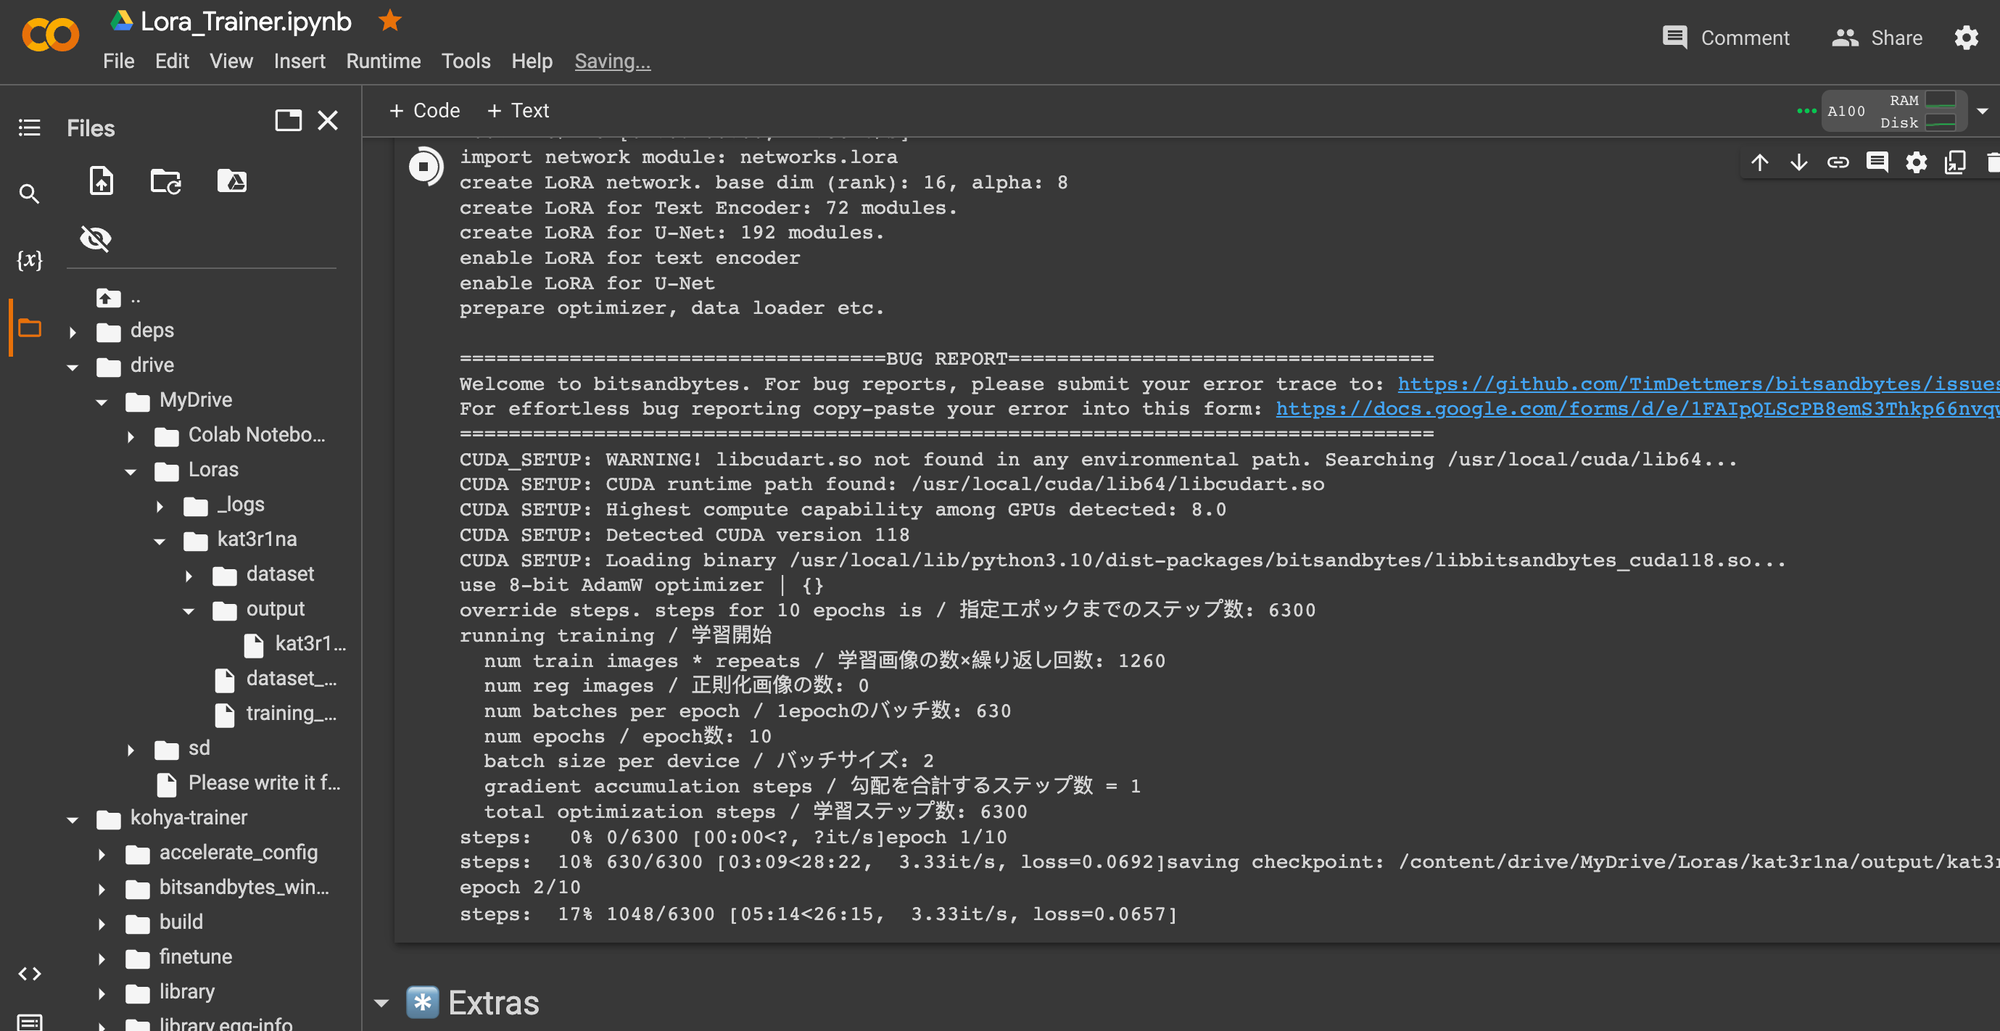
kat3r1na
📈 Found 126 images with 10 repeats, equaling 1260 steps.
📉 Divide 1260 steps by 2 batch size to get 630.0 steps per epoch.
🔮 There will be 10 epochs, for around 6300 total training steps.
Test!
We downloaded each LoRA and tested locally with the simple prompt:
A photograph a professional portrait of a model in high street fashion <lora:kat3r1na-01:1>
Each LoRA needs to be put into the /models/Lora directory on your local device and A1111 needs a quick refresh to see them.
If you've read the other articles before hand you know that testing included a XYZ plot with your new LoRA's as the X axis and nothing for the others.

We set up the simple prompt above and used a XYZ plot to detect the best LoRA for our character.
kat3r1na-01,
kat3r1na-02,
kat3r1na-03,
kat3r1na-04,
kat3r1na-05,
kat3r1na-06,
kat3r1na-07,
kat3r1na-08,
kat3r1na-09,
kat3r1na-10
We ended up settling with kat3r1na-04, but kat3r1na-05 could have worked as well. While going through the training we often thought of setting up the epoch saving to be set at 50 steps versus our traditional 100 steps, but we are happy with the generation so far [maybe on the next generation].
One thing we also ended up doing is going through our original dataset and curating it a bit more then running the training over again. Like baking a cake, or cooking a steak, training LoRA's or embeddings takes a bit of "feeling intuition" to get just right.
Take your time, go through the process slowly and deliberately. You will make something awesome.
When you get done, and you like your new LoRA character we will download it next.
Download

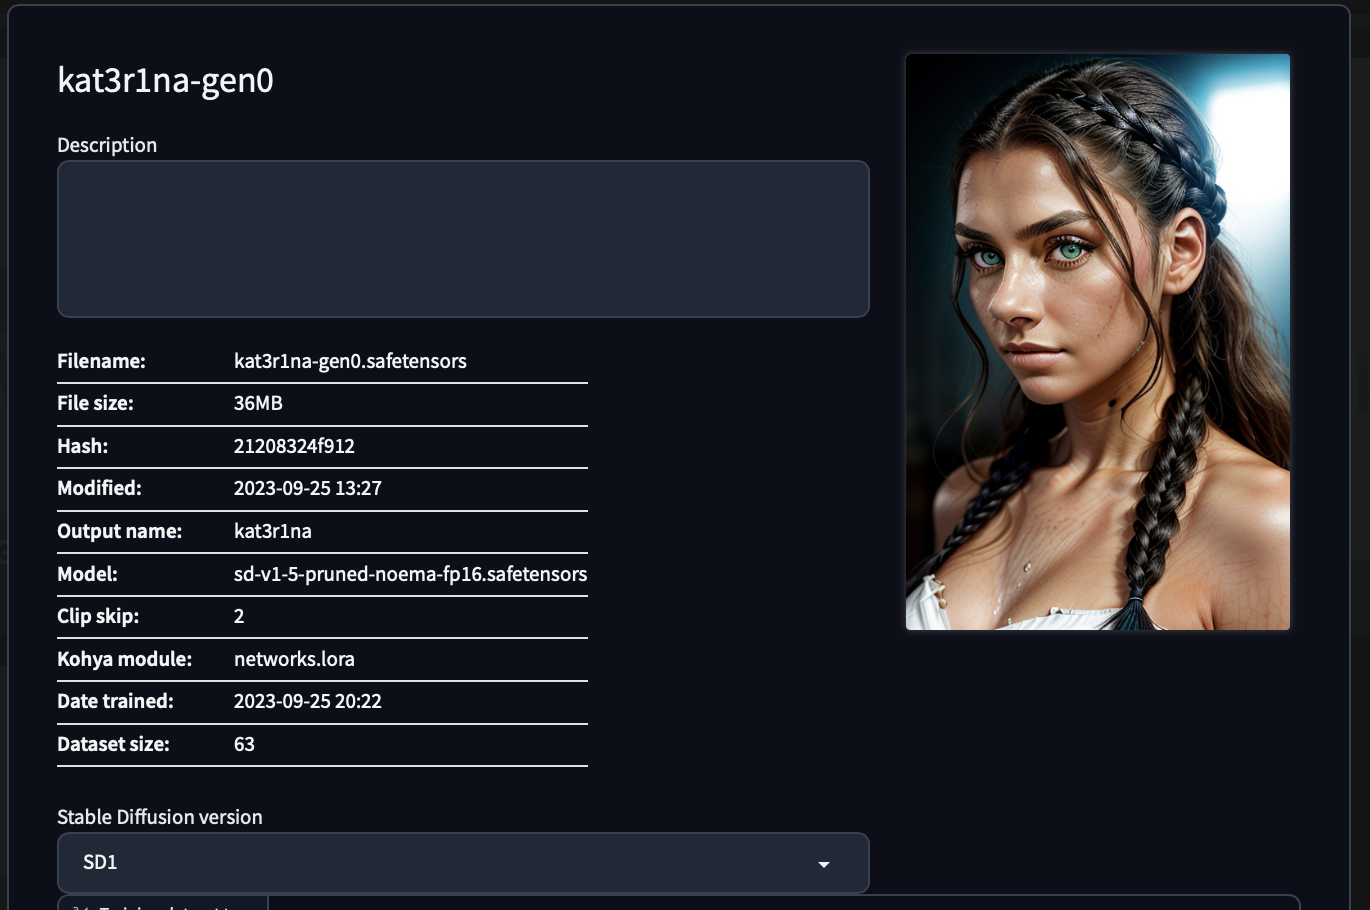
We liked the kat3r1na-04 LoRA. The next step is to download your model to your home device, in to your A1111 models / LoRAs directory.
Once downloaded, rename it to something you'll remember as you will most likely make more versions in order to refine your craft.
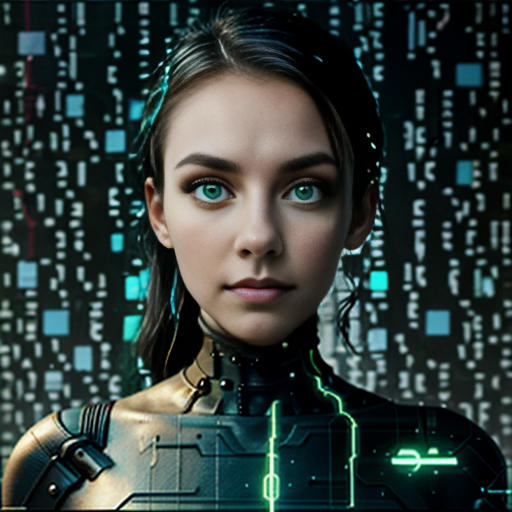
We renamed ours kat3r1na-gen0.safetensors, and like the embedding, we generated an image to attach to the LoRA settings to remind us.
Wrap up
Now that you've created an embedding and a LoRA with this character, we have one more interesting step to help you maintain a consistent character through out your AI art generations. Stay tuned for that article next in the series.
Until then, if you have any questions or have some beautiful art to show us, please reach out on any of the social media outlets @BitsofJeremy.