The Art Part, Creating a 2D MetaMarble with Inkscape
When I was coming up with ideas for NFT projects I was trying to think of different cool pictures of items I could layer together and get a generative image. Most NFT projects are a set of layers built together to make one image. They take things like the hair or sunglasses into each layer change out the colors and make thousands of images based on the random combination of the items.
"The hard part is the art part" -- Deafmice [June 2022]
Yes, I just quoted myself as I actually said that as I was explaining it to others.
The MetaMarble image takes seven different layers. I will be walking though the thought process on each.
BackgroundBaseColor
After creating a few MetaMarbles during the design process, I noticed that I would need a base layer to build everything off of since all my other layers were transparent. I decided to just go with either light or dark to make it simple.
Background
I wanted to have a flashy background, but not too much to overpower the rest of the images. I went with a radial blur in Inkscape as that seemed to be both flashy and highlight the marble at the same time.
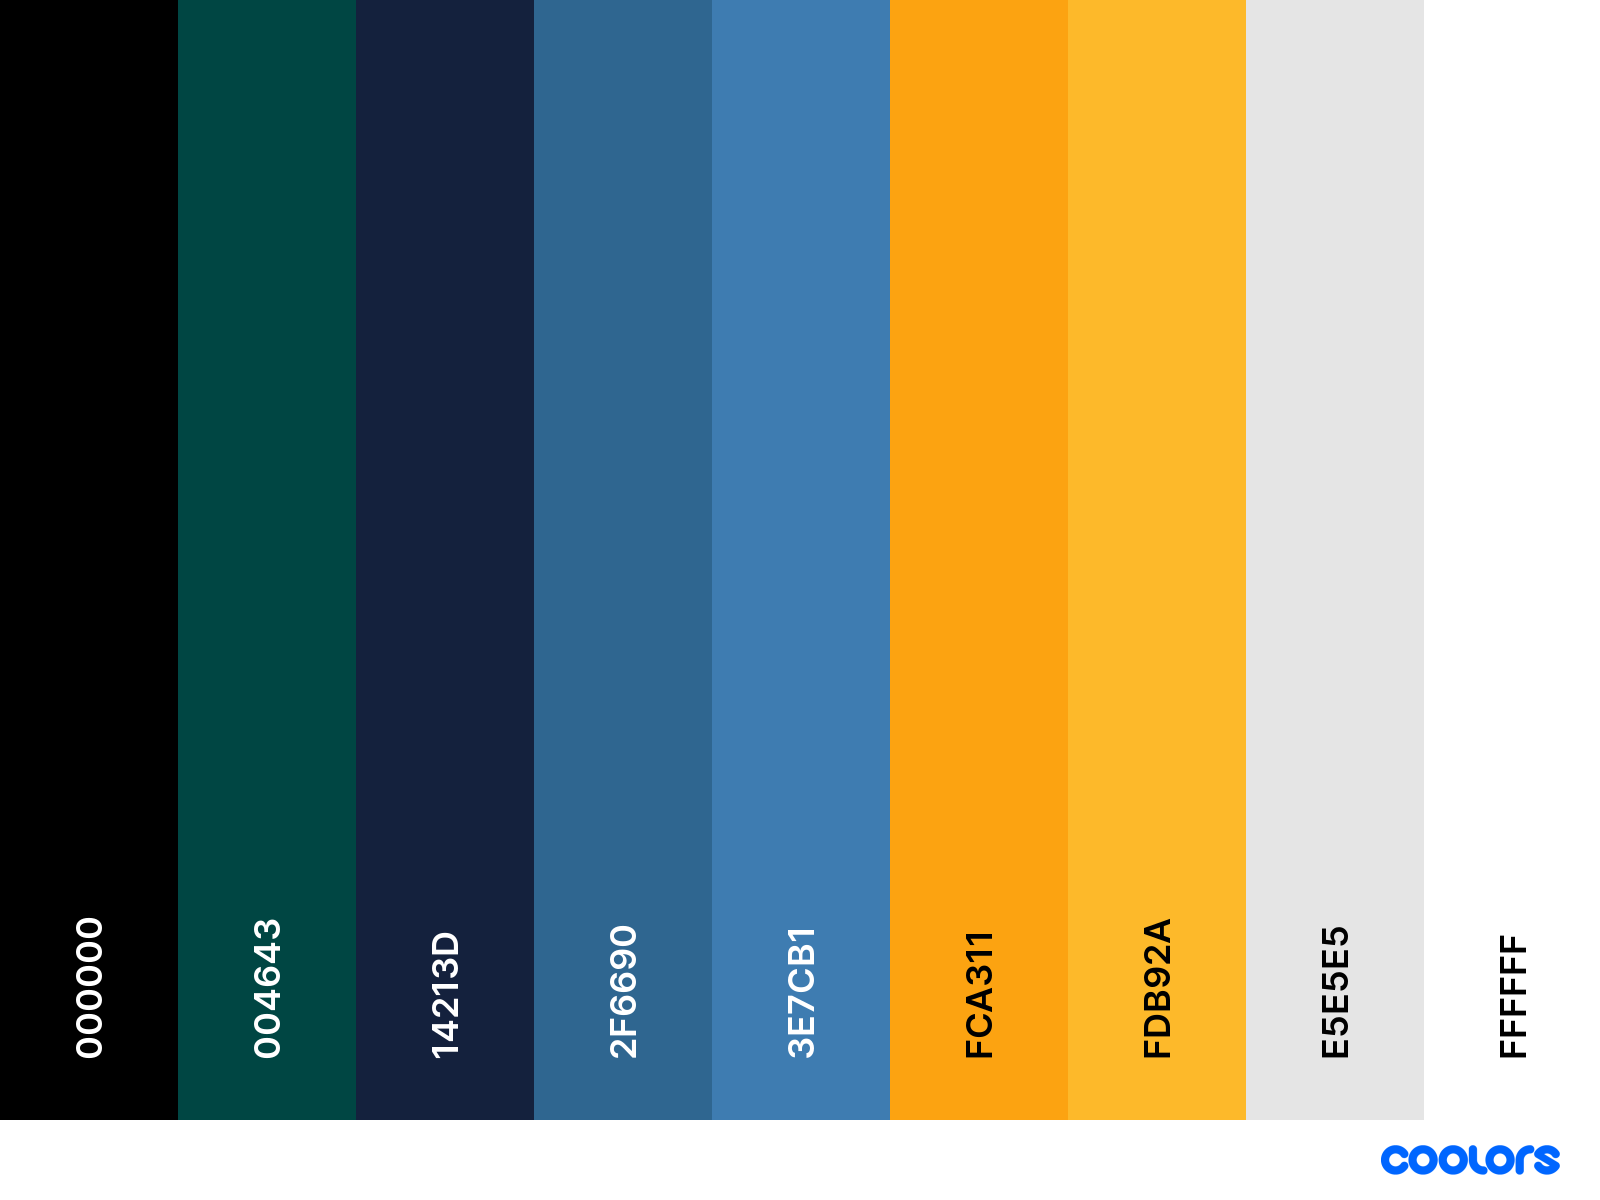
I based the backgrounds on the following palette due to it having both dark and light color schemes, but not too loud:
https://coolors.co/palette/000000-004643-14213d-2f6690-3e7cb1-fca311-fdb92a-e5e5e5-ffffff
Example Background

MarbleType
Why a marble type? What is that?
I wanted to add extra rarity in to the NFTs so I thought of Pokemon and their type system.
I went with a few Feather Icons [https://feathericons.com/] and dropped them into the top corner in front of a 50% Gray %50 opacity square to make lining them up easy and so that they would show even on black backgrounds.
Example

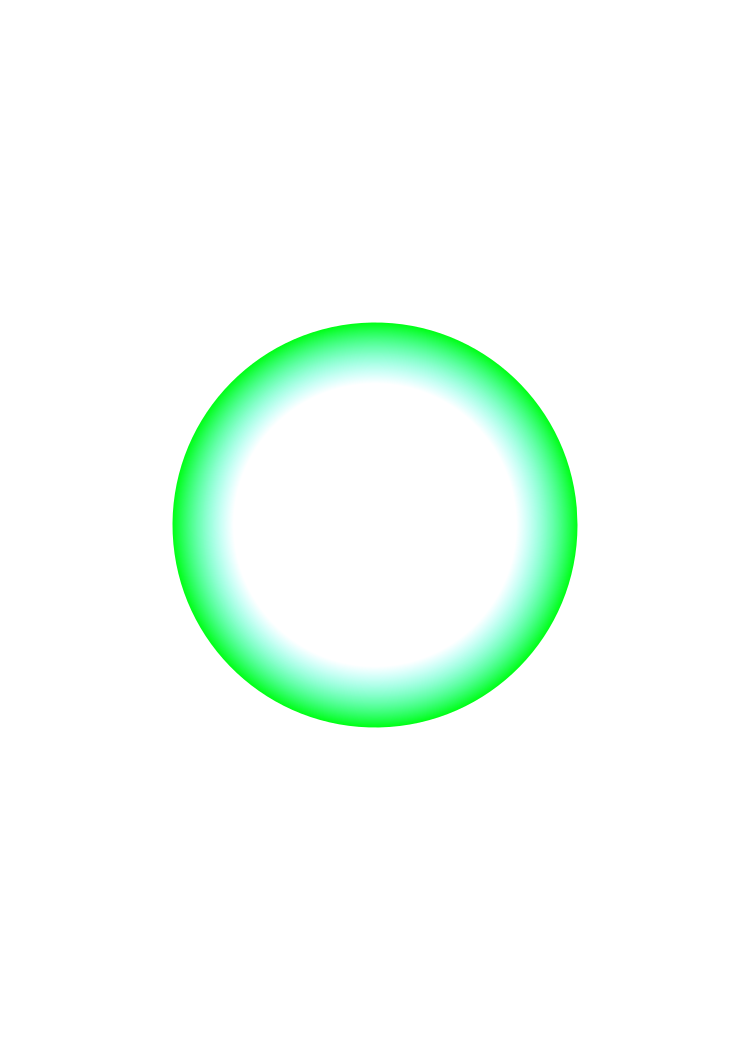
MarbleBase
I think that this is probably the most important layer in the whole image. I used a circle and the same radial blur idea but fading from the edge in. This gives the illusion of looking through a type of glass.
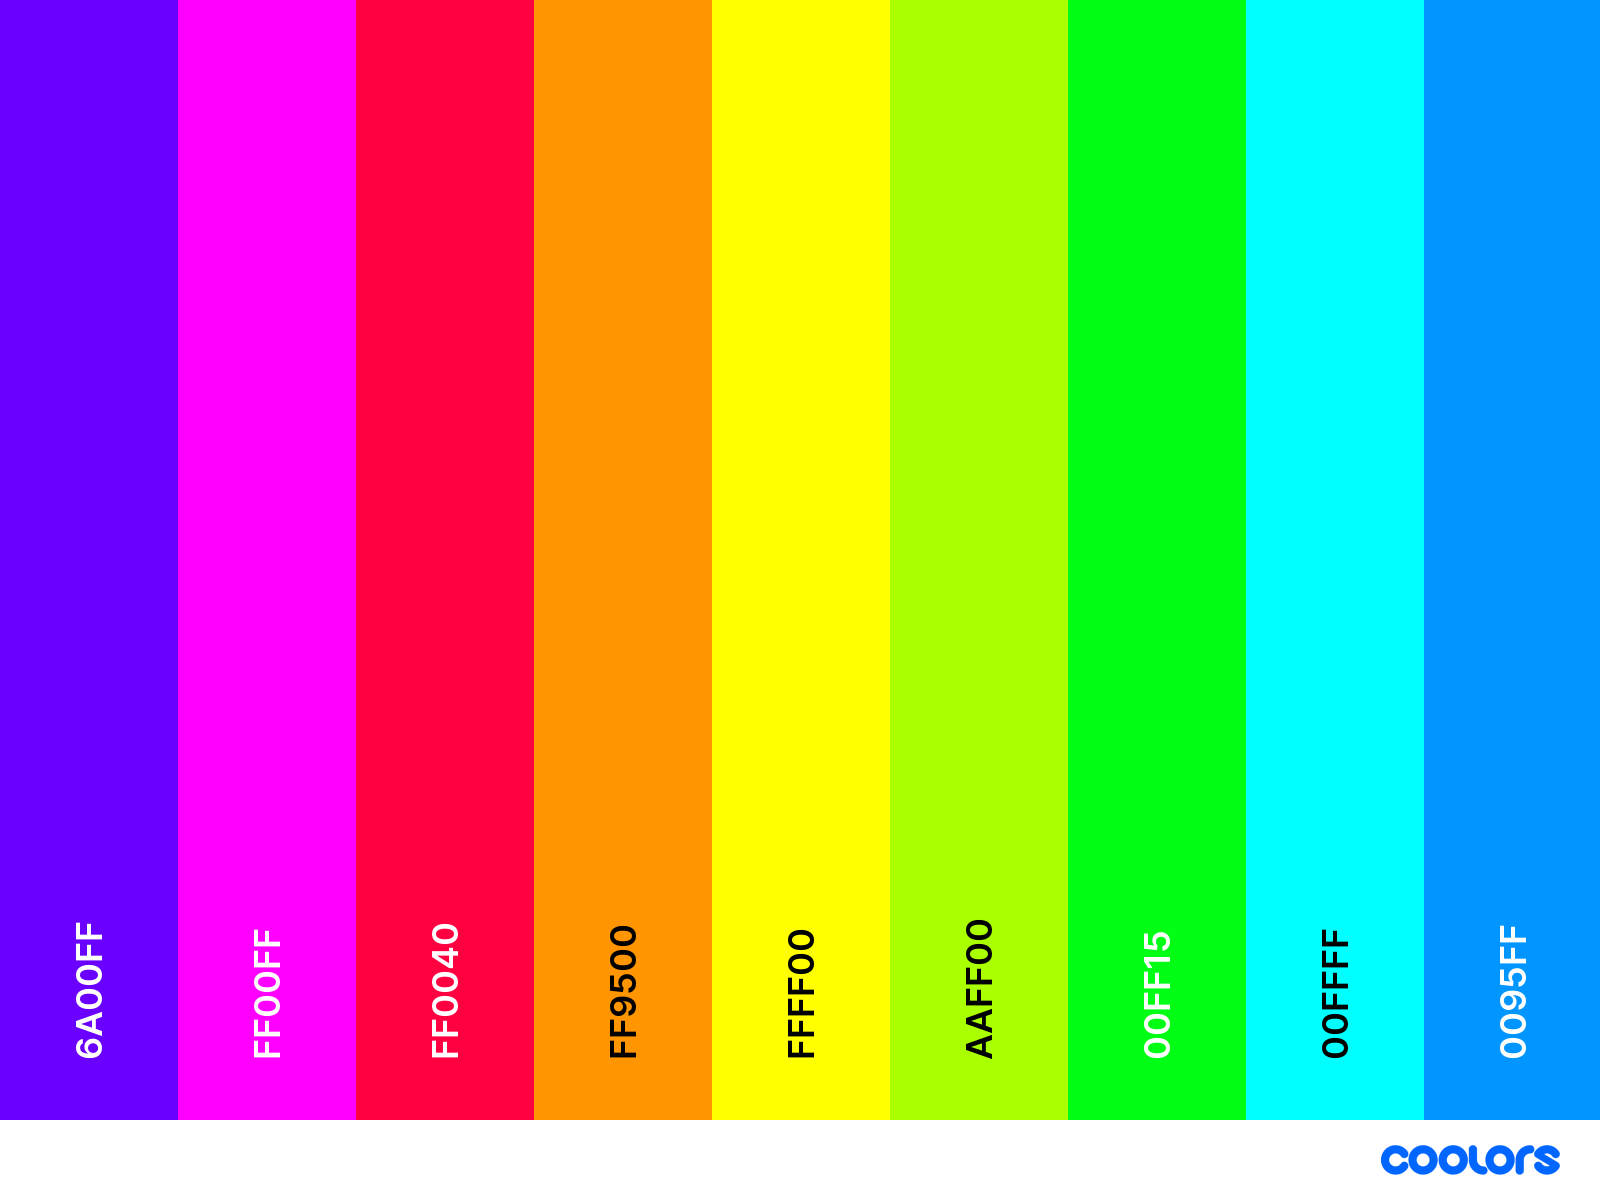
I based the marble colors on this palette as they were bright and cheery and most would pop on almost any background:
https://coolors.co/palette/6a00ff-ff00ff-ff0040-ff9500-ffff00-aaff00-00ff15-00ffff-0095ff
Example
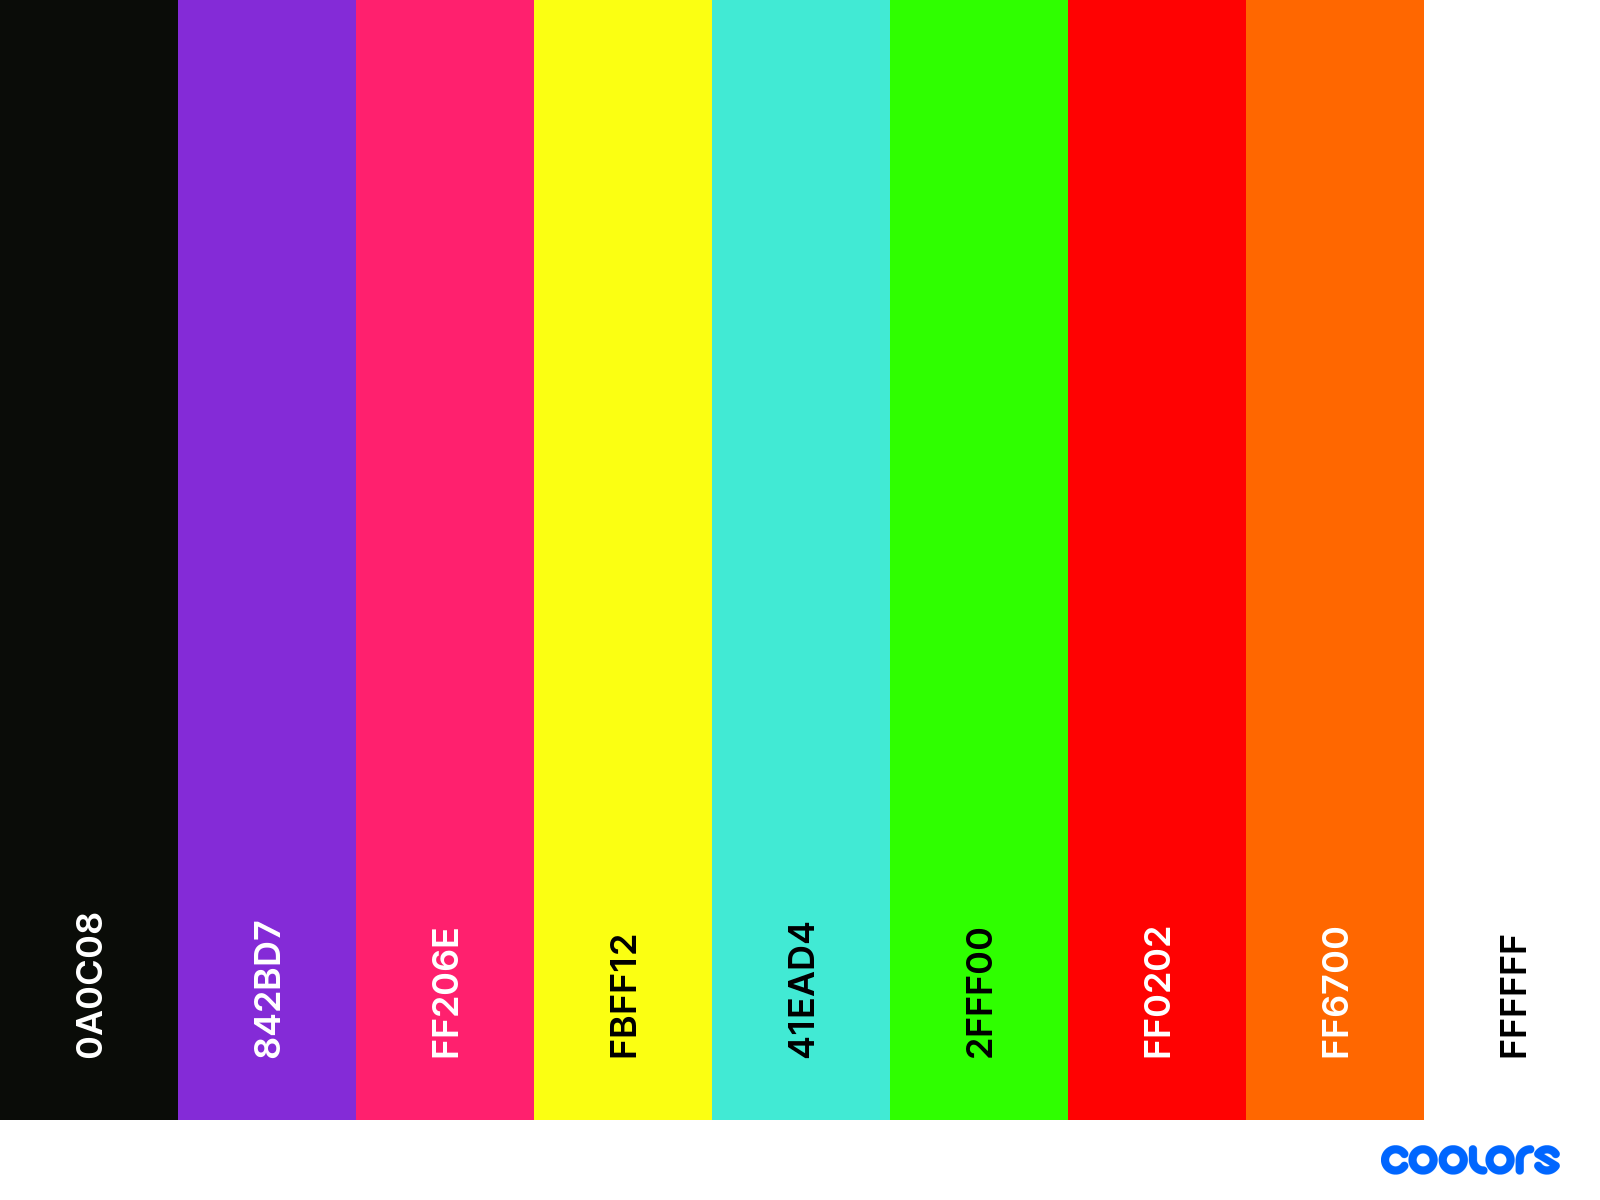
MarbleRibbonBase and MarbleRibbonInner
The ribbon inside of a cat eye marble is this twisty two toned thing. I found out via many "How It's Made" videos on YouTube that it is from glass that is added at the last moment before marble extrusion, and the twist is done as the newly extruded marbles roll there way down to cool. Neat!
The ribbon inner and outer were created with a Bezier tool and bending them around till I saw a shape I liked.
The palette I used was this one as I wanted to cover a bit more of the spectrum and so that they would work with the marble base colors:
https://coolors.co/palette/0a0c08-842bd7-ff206e-fbff12-41ead4-2fff00-ff0202-ff6700-ffffff
They also have a gradient fade that flows a bit darker to the bottom. That seems to give it some volume on some of the marbles.
Example
This is the base ribbon, the inner has the same idea, just squished.

MarbleShine
This layer is just one image that provides a reflective shiny look to the finished marble.
note: the image will probably not show, so no example for now.
Image Size
Pokemon cards are a certain size which is 2.5 x 3.5 inches or 6.3 x 8.8 centimeters. That roughly translates to 750X1050 pixels. So, each layer needs either a transparent square that size, or when exporting the layer, you will need to remember to click the export "Page" button.
I forgot this many times and ended up with my first generation failing badly as they got stretched to fit the final image.
YIKES!

Wrapping up
OK, so we have our individual layers exported with one for each color in each palette [remembering the hard repetitive work of exporting correctly each time.]
Next we will start on the backend which will automagically generate random NFT images for us.
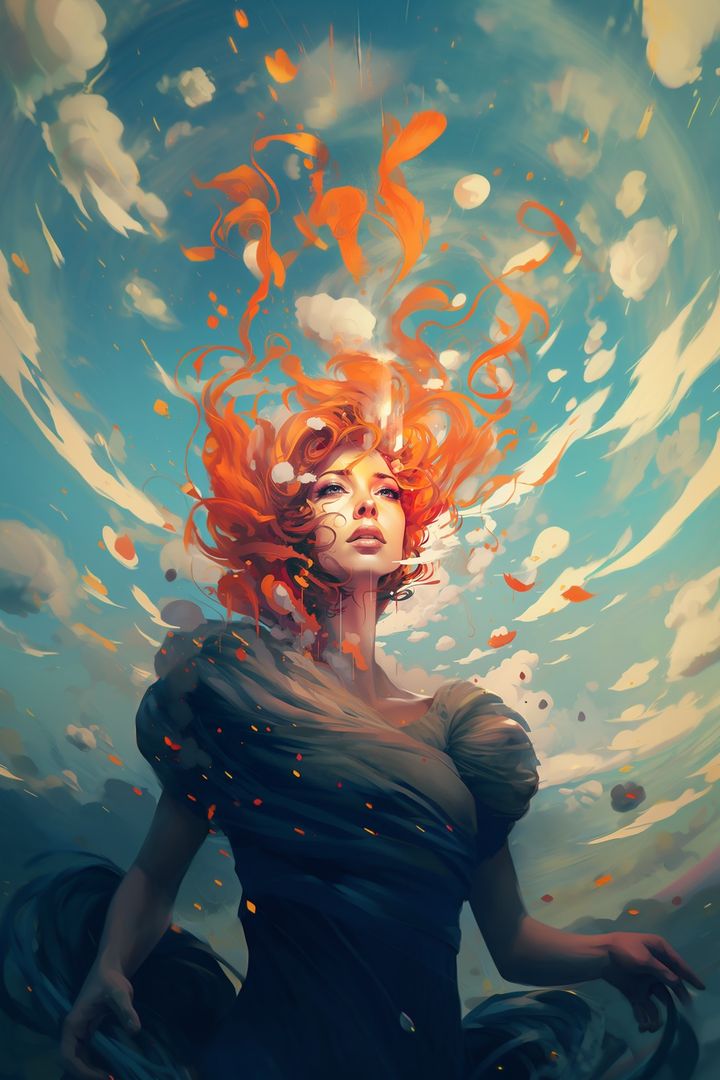
Final Example with all layers together