Imagine Server: Building a Web-Based AI Image Generator with Flask and ComfyUI
Making life simpler with code.

Hello, aspiring developers and Linux enthusiasts! Today, we’re going to dive into an exciting project I am calling Imagine Server. This project combines the power of Python, Flask, and ComfyUI to create a user-friendly web application for AI image generation. Whether you’re new to Python or just starting with Linux, this blog post will guide you through the process of understanding and setting up Imagine Server.
What is Imagine Server?
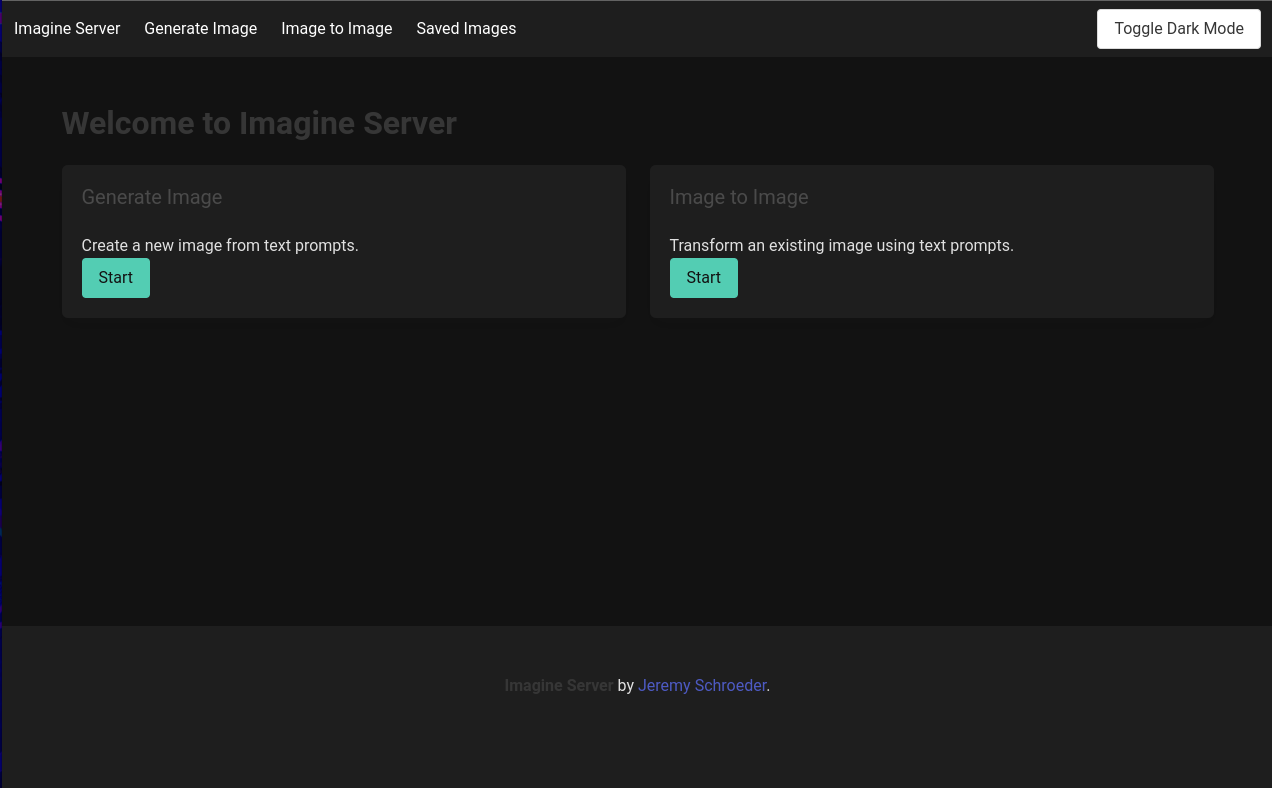
Imagine Server is a Flask-based web application that provides an easy-to-use interface for generating images using AI models. It integrates with ComfyUI, a powerful UI for Stable Diffusion, to handle the actual image generation process. The application allows users to:
- Generate images from text descriptions (Text-to-Image)
- Modify existing images using text prompts (Image-to-Image)
- Customize various parameters of the image generation process
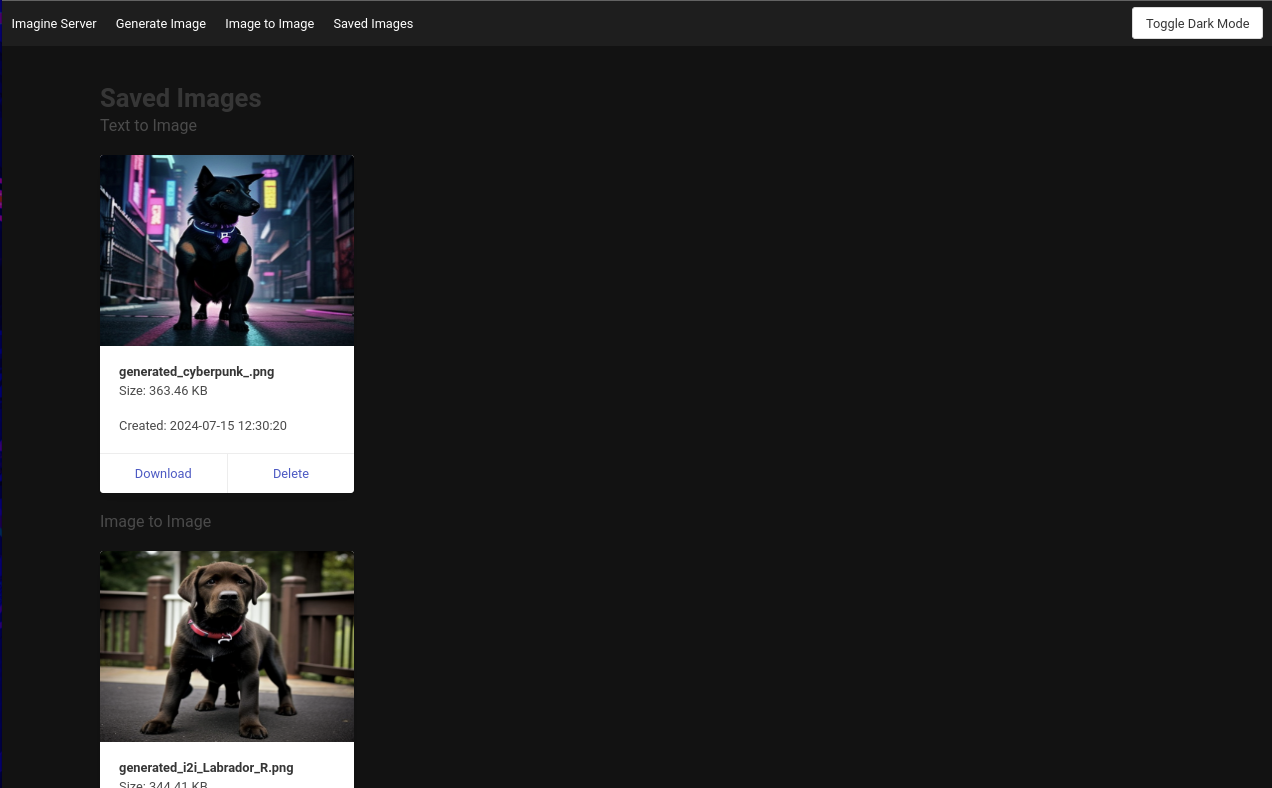
- View and download generated images
Key Technologies
Before we dive into the details, let’s briefly cover the main technologies used in this project:
- Python: The primary programming language used for the backend.
- Flask: A lightweight web framework for Python, perfect for building web applications.
- ComfyUI: A powerful and modular UI for Stable Diffusion, which handles the AI image generation.
- Nginx: A web server that we use as a reverse proxy for our Flask application.
- Gunicorn: A Python WSGI HTTP Server for UNIX, used to serve our Flask application.
- Systemd: A system and service manager for Linux, used to manage our application as a service.
Project Structure
The Imagine Server project is structured as follows:
imagine_server/
├── app/
│   ├── __init__.py
│   ├── routes.py
│   ├── forms.py
│   ├── utils.py
│   ├── static/
│   └── templates/
├── tests/
│   ├── test_forms.py
│   ├── test_routes.py
│   └── test_utils.py
├── workflows/
│   ├── base_workflow.json
│   └── basic_image_to_image.json
├── config.py
├── run.py
├── requirements.txt
├── README.md
└── deploy.sh
This structure separates concerns and makes the project easy to navigate and maintain.
Key Features
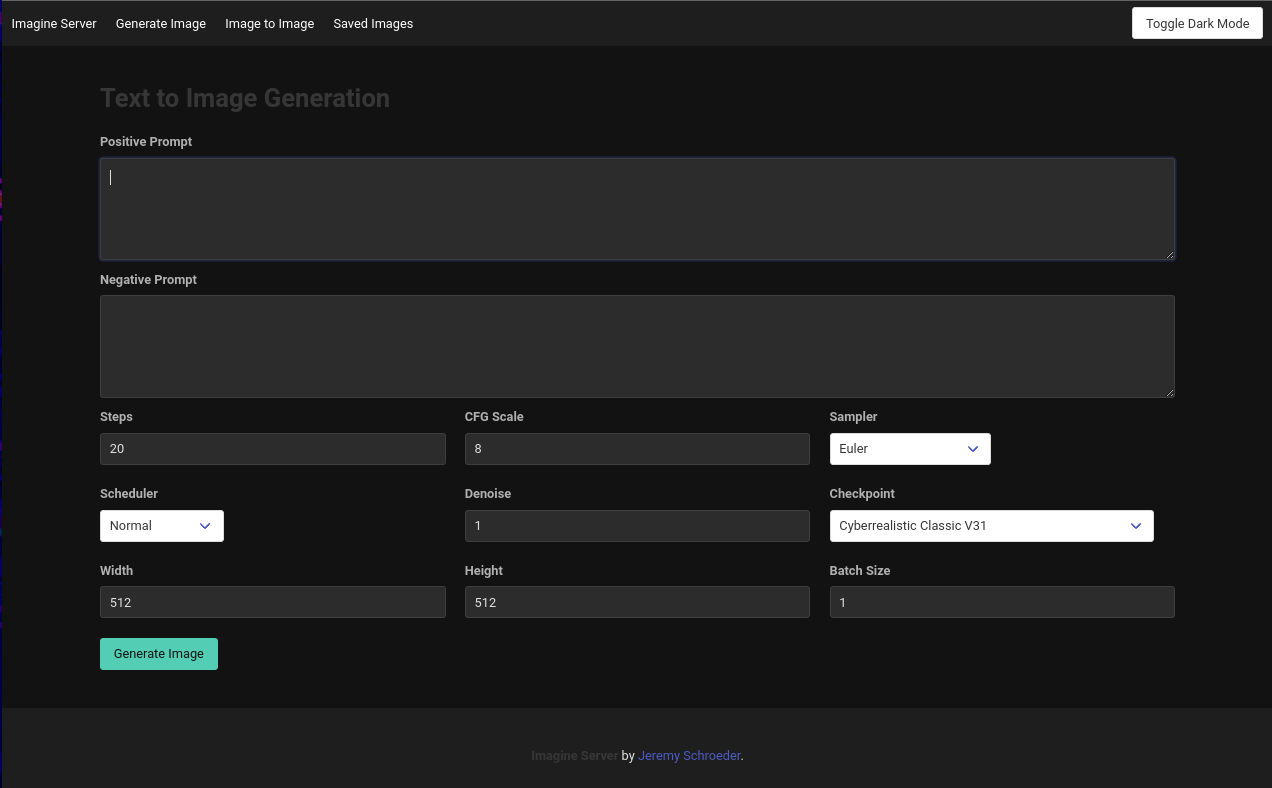
- Text-to-Image Generation: Users can enter text prompts to generate images from scratch.
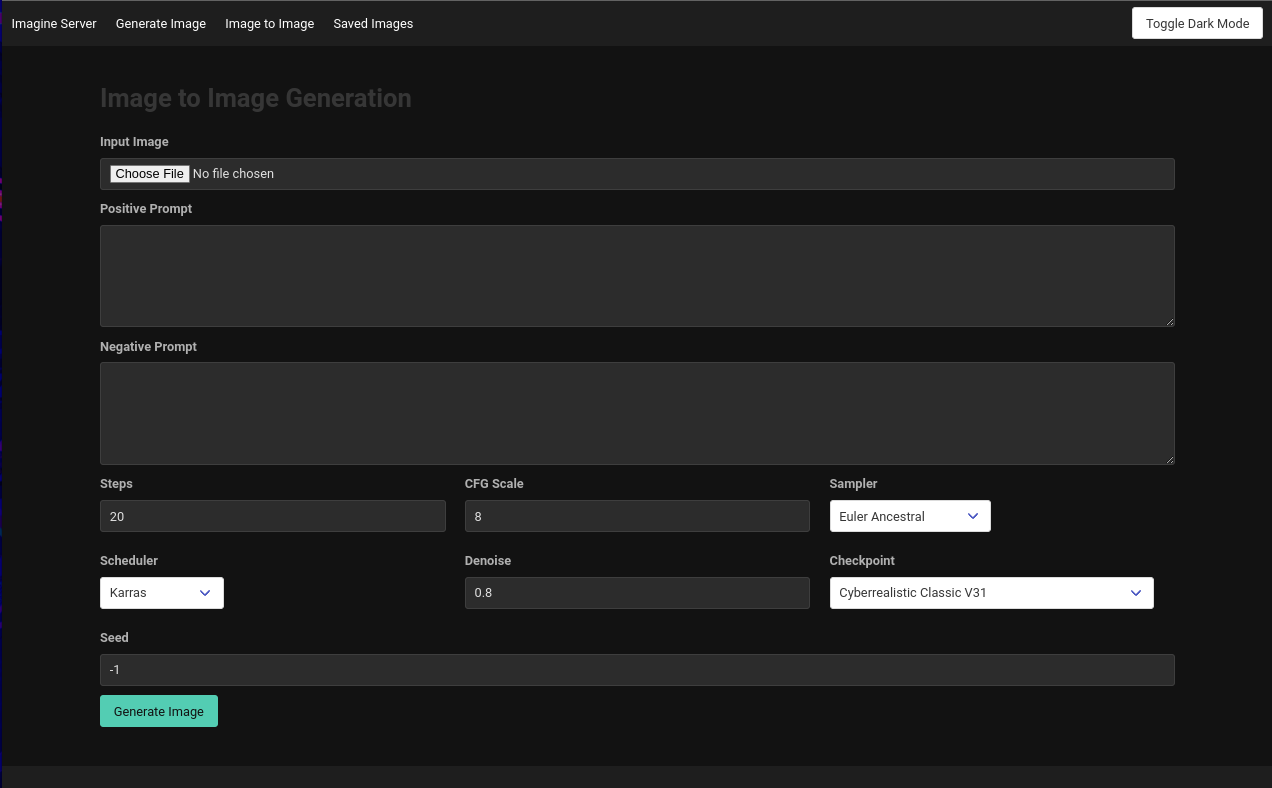
- Image-to-Image Transformation: Users can upload an image and provide text prompts to modify it.
- Customizable Parameters: The application allows users to adjust various parameters like steps, CFG scale, and sampling methods.
- Multiple AI Models: Users can choose from various pre-trained models for different styles and capabilities.
- Web Interface: A user-friendly web interface built with Flask and styled with Bulma CSS for a responsive design.
- Easy Deployment: A deployment script (
deploy.sh) automates the setup process on a Linux server.
How It Works
- The user interacts with the web interface, entering prompts and adjusting parameters.
- The Flask application processes the user input and prepares a request for ComfyUI.
- ComfyUI generates the image based on the provided parameters and workflow.
- The Flask application retrieves the generated image and displays it to the user.
- Users can then download or further modify the generated images.
Setting Up Imagine Server
To set up Imagine Server on your Linux machine, follow these steps:
- Ensure you have Python 3.7+ installed on your system.
- Install ComfyUI following their installation instructions.
- Install necessary dependencies
- Set up a virtual environment
- Install required Python packages
- Configure Nginx as a reverse proxy
- Set up the application as a systemd service
- After deployment, you can access Imagine Server by navigating to
http://imagineserver.home.testin your web browser (you may need to add this to your hosts file or local DNS server).
Run the deployment script:
sudo ./deploy.sh
This script will:
Clone the Imagine Server repository:
git clone https://github.com/BitsofJeremy/imagine_server.git
cd imagine_server
Customization
You can customize various aspects of Imagine Server:
- Port: Modify the
PORTvariable indeploy.shto change the application’s port. - Domain: Update the
DOMAINvariable indeploy.shto use a different domain. - AI Models: Add or remove models by updating the
CHECKPOINTSlist inapp/forms.py.
Conclusion
Imagine Server is an excellent project for new Python developers and Linux users to explore. It combines web development with AI, providing a practical example of how to build and deploy a full-stack application.
By working with this project, you’ll gain experience with:
- Building web applications with Flask
- Integrating external services (ComfyUI)
- Working with forms and file uploads
- Implementing websockets for real-time communication
- Setting up a Linux server with Nginx and Gunicorn
- Creating systemd services
I hope this project inspires you to explore further and create your own amazing applications! Happy coding!
Remember, the world of software development is vast and always evolving. Don’t be afraid to experiment, make mistakes, and learn from them. Every error message is an opportunity to learn something new!
If you have any questions or run into issues, feel free to open an issue on the GitHub repository.
Happy imagining!