How to install InvokeAI Stable Diffusion on a MacBook
Updating my Stable Diffusion local setup with InvokeAI

In one of my previous posts, I used the instructions
from replicate to install Stable Diffusion on my MacBook.
I found a new install called InvokeAI that has a little more features,
so I will be documenting how to install it here.
- Install the basics for MacOS
- Get the Stable Diffusion weights [The Magic File]
- Install InvokeAI
Install the basics for MacOS
You will need to have Xcode installed from the App Store.
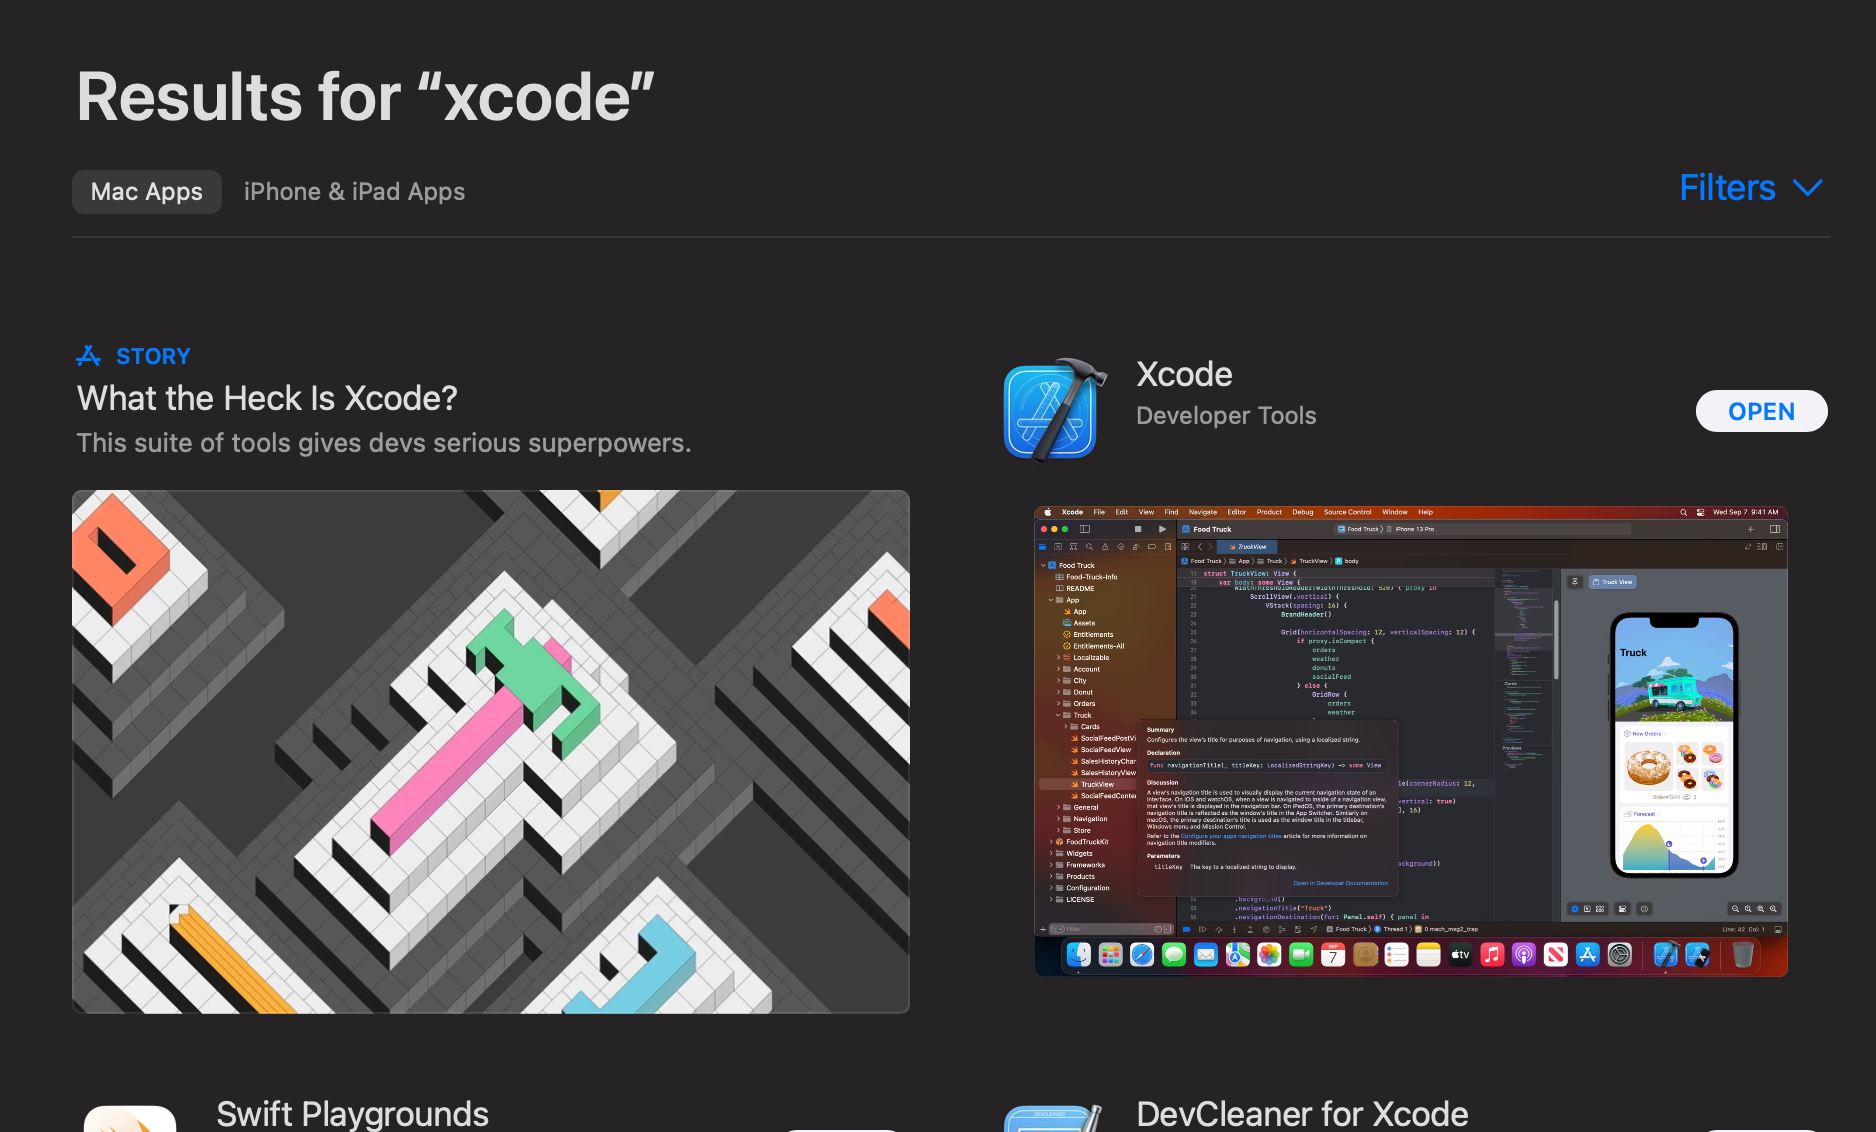
After that is installed, you will need the Command Line Tools Package. Open
a terminal and run the following:
xcode-select --install
The InvokeAI install requires Anaconda, but I was able to get away with installing
Miniforge as I really did not want the extras in Anaconda. I normally just
use a virtualenv and pip to install my dependecies for Python, but we
are trying to make this tutorial easy, right?
Go to the Miniforge Github page and then click releases. It is on version
4.14.0 as of this post.
 conda-forge
Since I am on an M1 MacBook, I downloaded Miniforge3-MacOSX-arm64.sh
Link:
https://github.com/conda-forge/miniforge/releases/download/4.14.0-0/Miniforge3-MacOSX-arm64.sh
Go to your download folder then use Bash to begin the install,
you might as well get a coffee or esspresso as it takes a bit.
bash Miniforge3-MacOSX-arm64.sh
After the license and default install close out the terminal and open a new
one to initialize conda. You should see (base) before your terminal prompt.
Type conda --version to see if it worked.
Get the Stable Diffusion weights [The Magic File]
The magic file we need is from CompVis on HuggingFace.com.
To download the weights, go to:
Make a Hugging Face account and accept the terms.
Then download the weights sd-v1-4.ckpt from: https://huggingface.co/CompVis/stable-diffusion-v-1-4-original/blob/main/sd-v1-4.ckpt
Since the file is around 4GB, you may want to keep it in a safe place.
I keep mine in separate folder, and then create a symbolic link later on in the install.
Install InvokeAI
Now that we have the heavy lifting down we just need to clone the repo and finsh off the install.
git clone https://github.com/invoke-ai/InvokeAI.git
cd InvokeAI
Create a folder for the weights
mkdir -p models/ldm/stable-diffusion-v1/
Create a symbolic link to the model weights you downloaded earlier, and name it model.ckpt
PATH_TO_WEIGHTS="$HOME/bin/models"

ln -s "$PATH_TO_WEIGHTS/sd-v1-4.ckpt" models/ldm/stable-diffusion-v1/model.ckpt
OK, I know that was confusing, but it is a safety for us incase we need to re-download the repo. There is no sense re-downloading the weights if we have the magic of a POSIX system under us.
Next, setup the virtual environment to install all the dependencies.
CONDA_SUBDIR=osx-arm64 conda env create -f environment-mac.yaml
Activate it.
conda activate ldm
Let's pre-download some helper models so we don't have to do that again. Nice for long flights with limited internets.
python scripts/preload_models.py
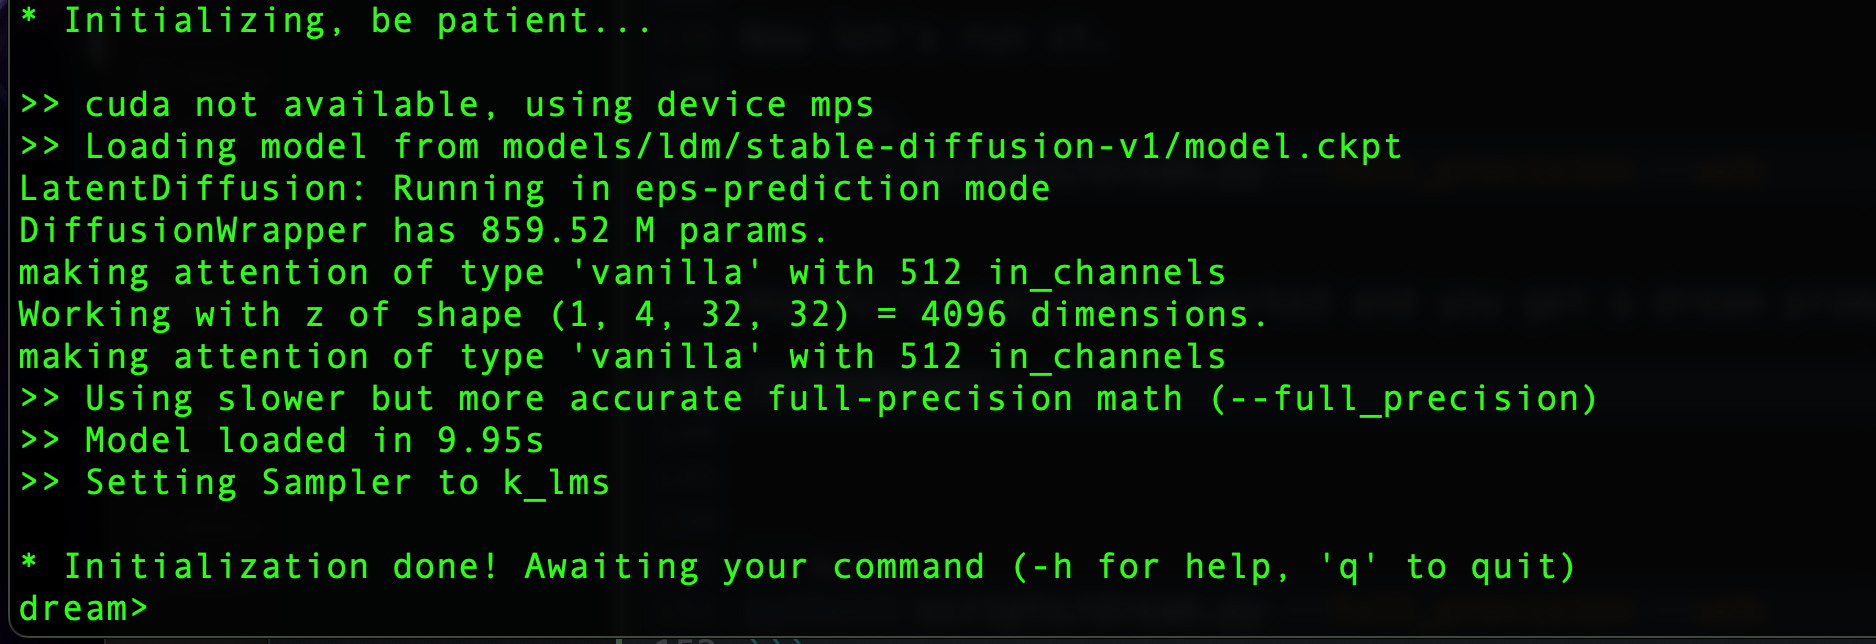
Now let's run it.
python3 scripts/dream.py --full_precision
Hopefully everything worked and you get a dream prompt.
BUT. WAIT. THERE's. MORE!
We switched to this version for the web experience. Stop the dream> prompt (Control-c), and then run this one:
python3 scripts/dream.py --full_precision --web
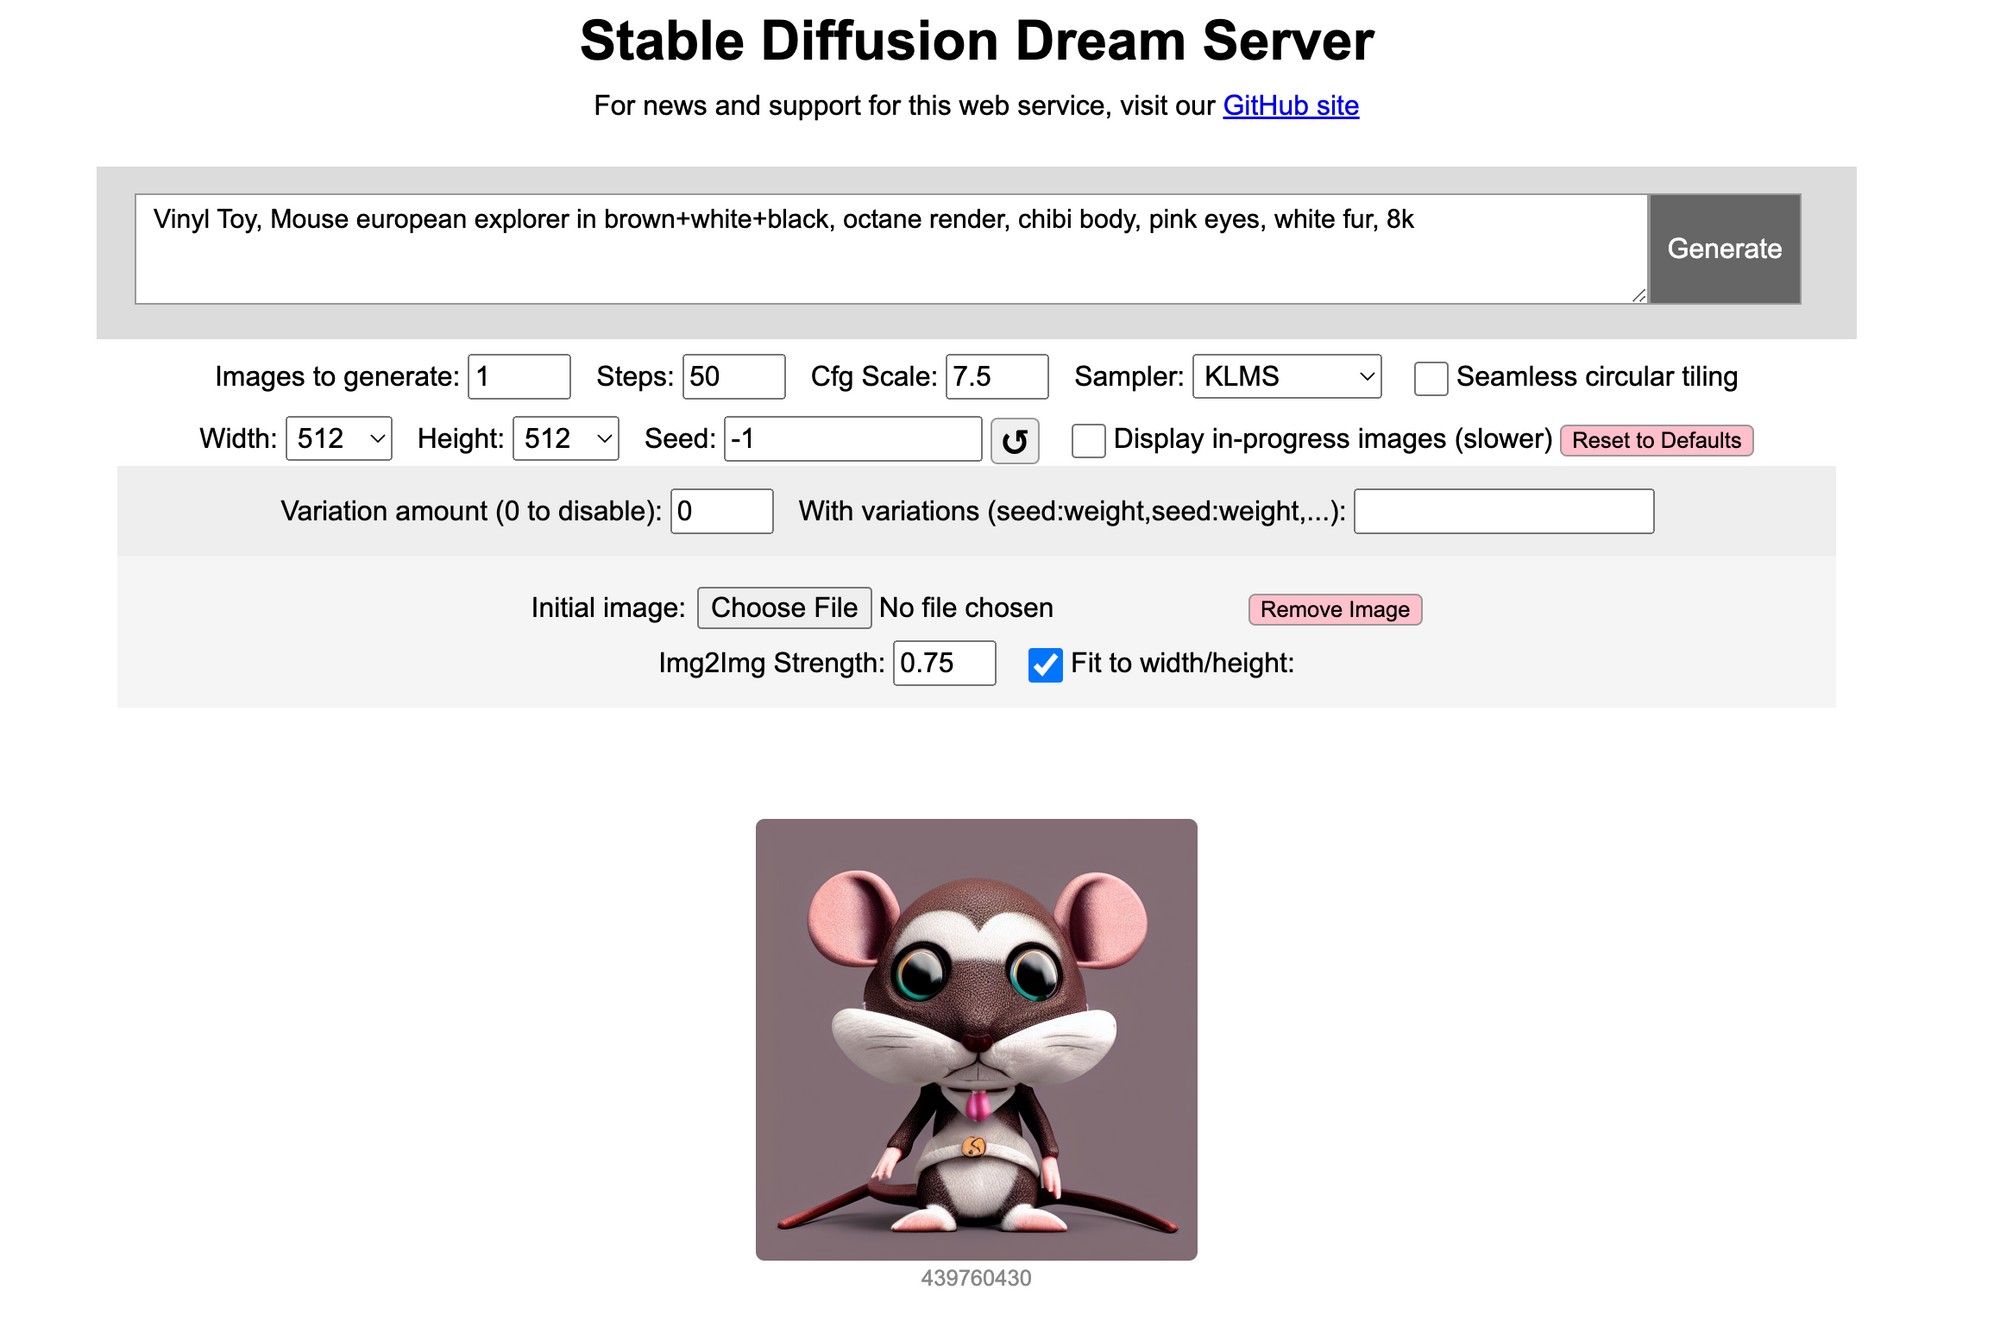
The --web will give us an endpoint to open in our browser of choice:
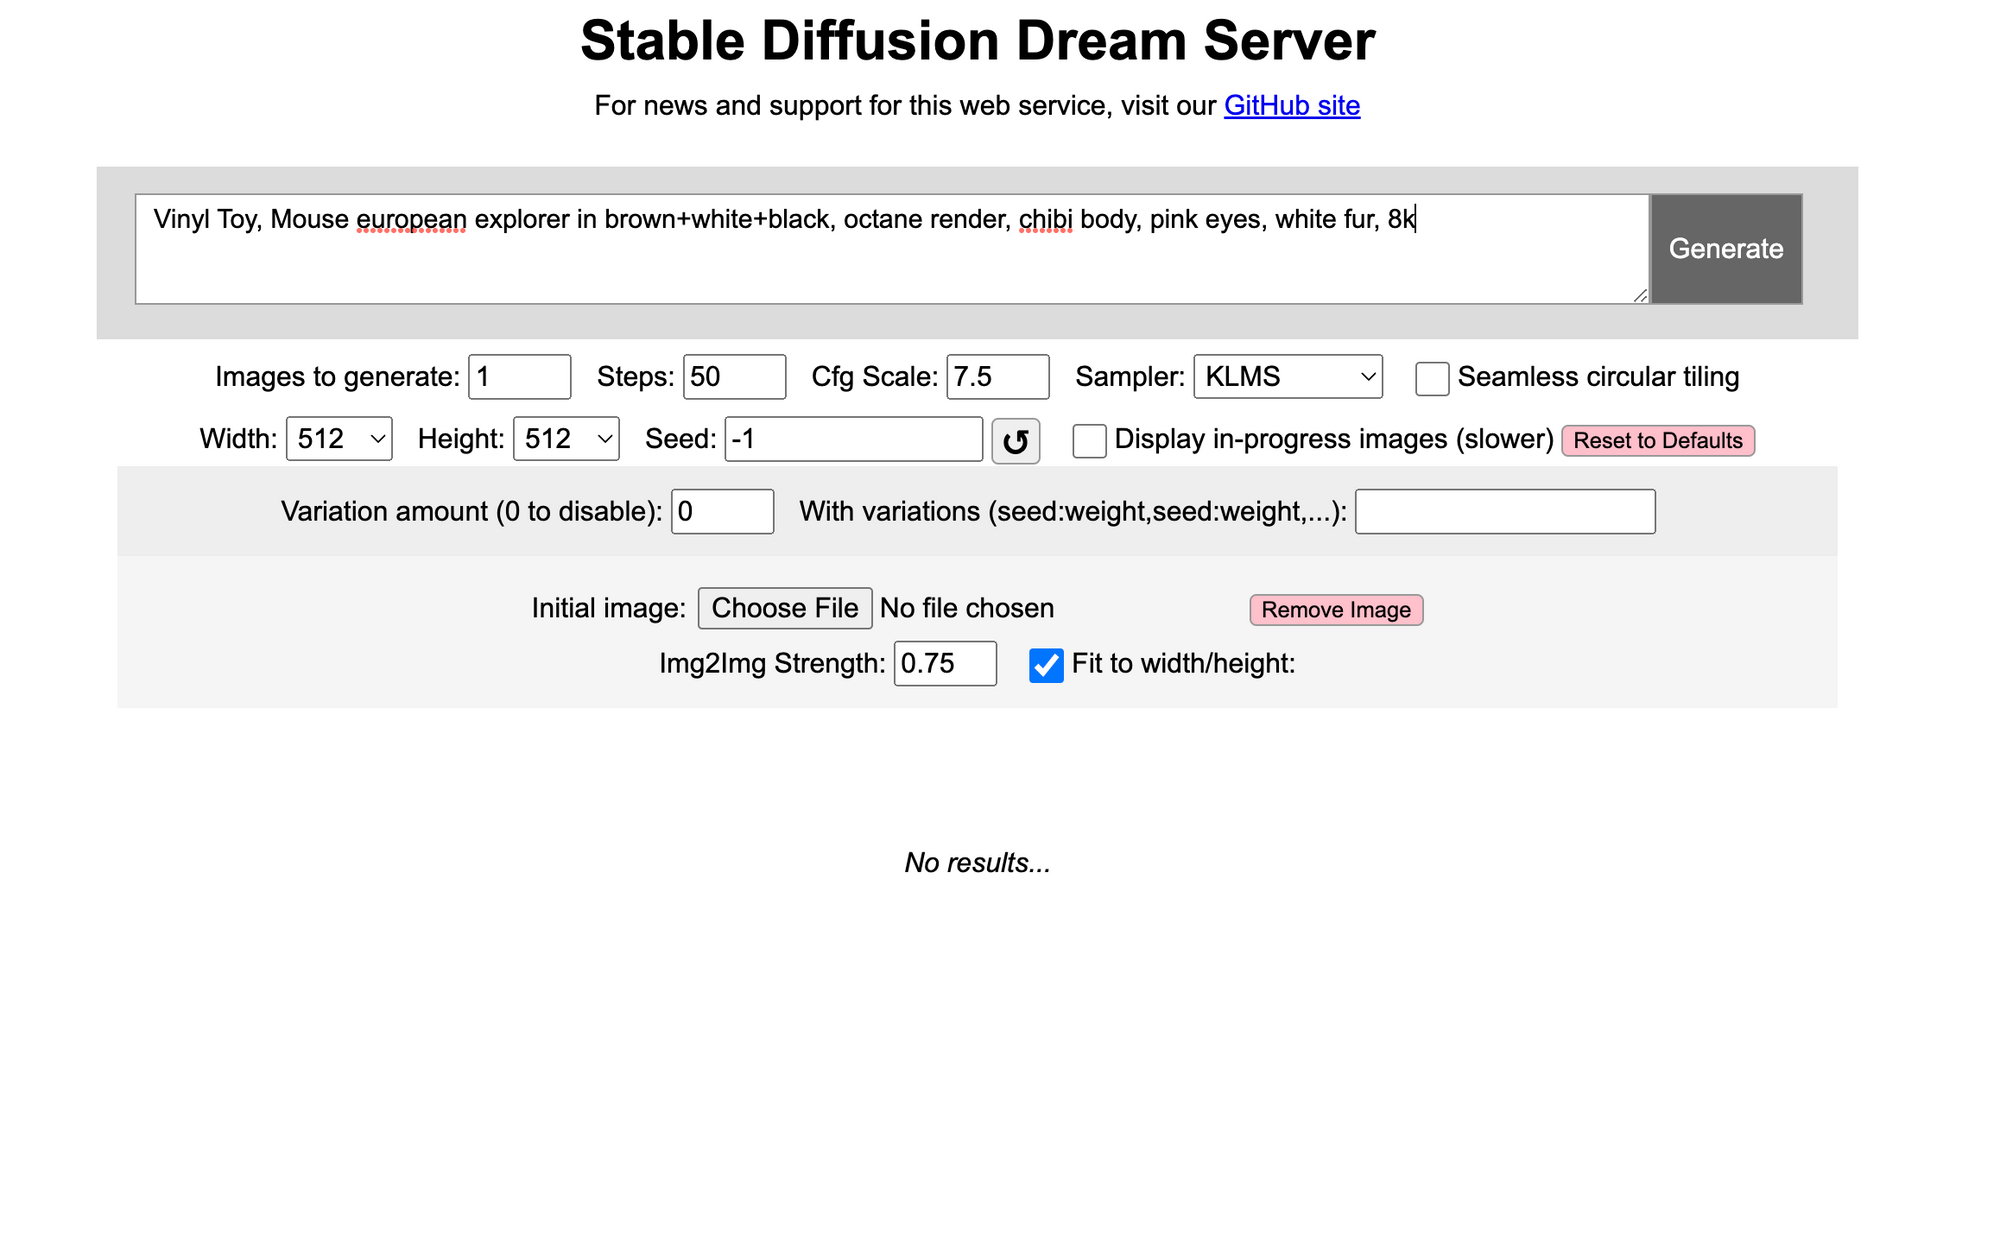
Run the same art prompt as my last post:
Vinyl Toy, Mouse european explorer in brown+white+black, octane render, chibi body, pink eyes, white fur, 8k

Final Thoughts
With this new install, we get a web UI and some other helpful tools (see the InvokeAI repo for more). After playing around with it for a bit, I think this will be my go to install for Stable Diffusion for now. Need to hack in posting to Discord from my previous post and it will be all good.
Links to other instructions that helped me along:
https://github.com/invoke-ai/InvokeAI#installation
https://github.com/invoke-ai/InvokeAI/blob/main/docs/installation/INSTALL_MAC.md
https://medium.com/gft-engineering/macbook-m1-how-to-install-and-run-stable-diffusion-7bfb2f802b1a
https://github.com/conda-forge/miniforge/releases/tag/4.14.0-0