Creating a bike part with a 3D printer for temporary purposes
Sometimes you just need a shim to get by.
I am prepping my mountain bike frame to be sold, but newer mountain bikes come with dropper posts, and the post this frame came with has already been put on another bike. So, being the bike geek that I am, I have random spare parts around. I had an old road seatpost in my parts bin that had a 27.2mm OD and my frame accepts a 31.6mm OD seatpost. So, I fired up the browser and made a shim to get it into hold in place while I clean the frame and take some photos.
Note: Always clean your bikes before selling them, or bringing them to a mechanic. The bike gods will shine upon you.
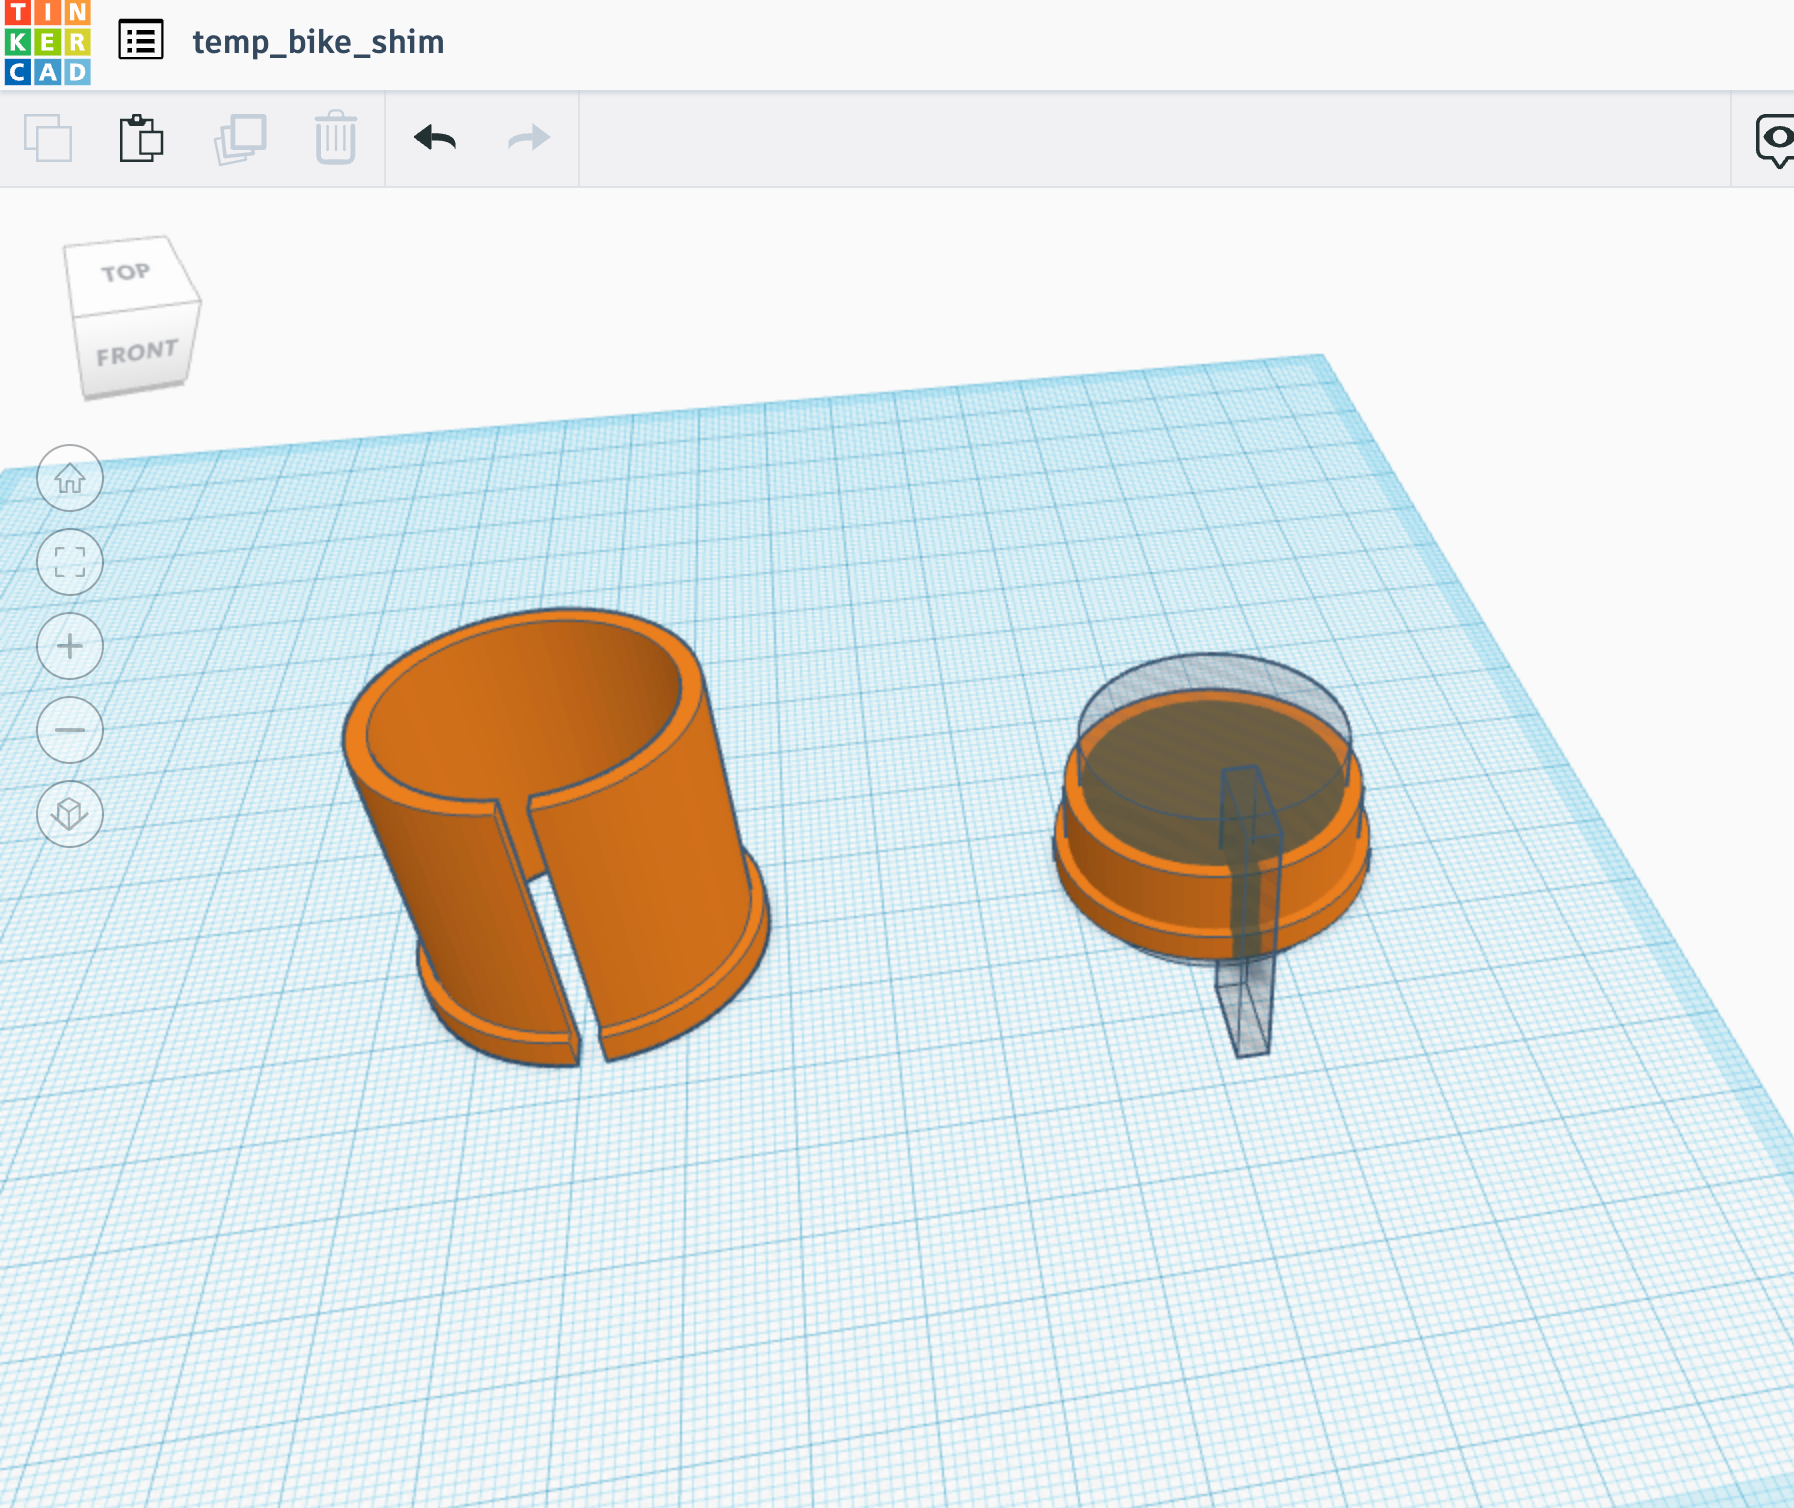
Here is a screenshot of the design, it took a bunch of iterations before I was able to get the right size and fit. The reason is that sometimes 3D printed parts are just a bit off depending on if the filament lays down correctly and what your slicer settings are set to. I was going for speed in this design as it just needed to hold a sub 4 pound carbon bike frame in a bike stand while I cleaned it.
Screenshot of Tinkercad.
I used Tinkercad for this design as it offers the best free fast easy CAD software currently. I was going to model it out in Blender, but just needed a few primitives and proper measurements. Tinkercad is just "good enough" for this task.
Next step is to take it from Tinkercad as an STL file to the slicer to convert the object mesh into gcode that my 3D printer can understand. I am slicing on the "Extra Coarse" setting as I am just testing in this screenshot.
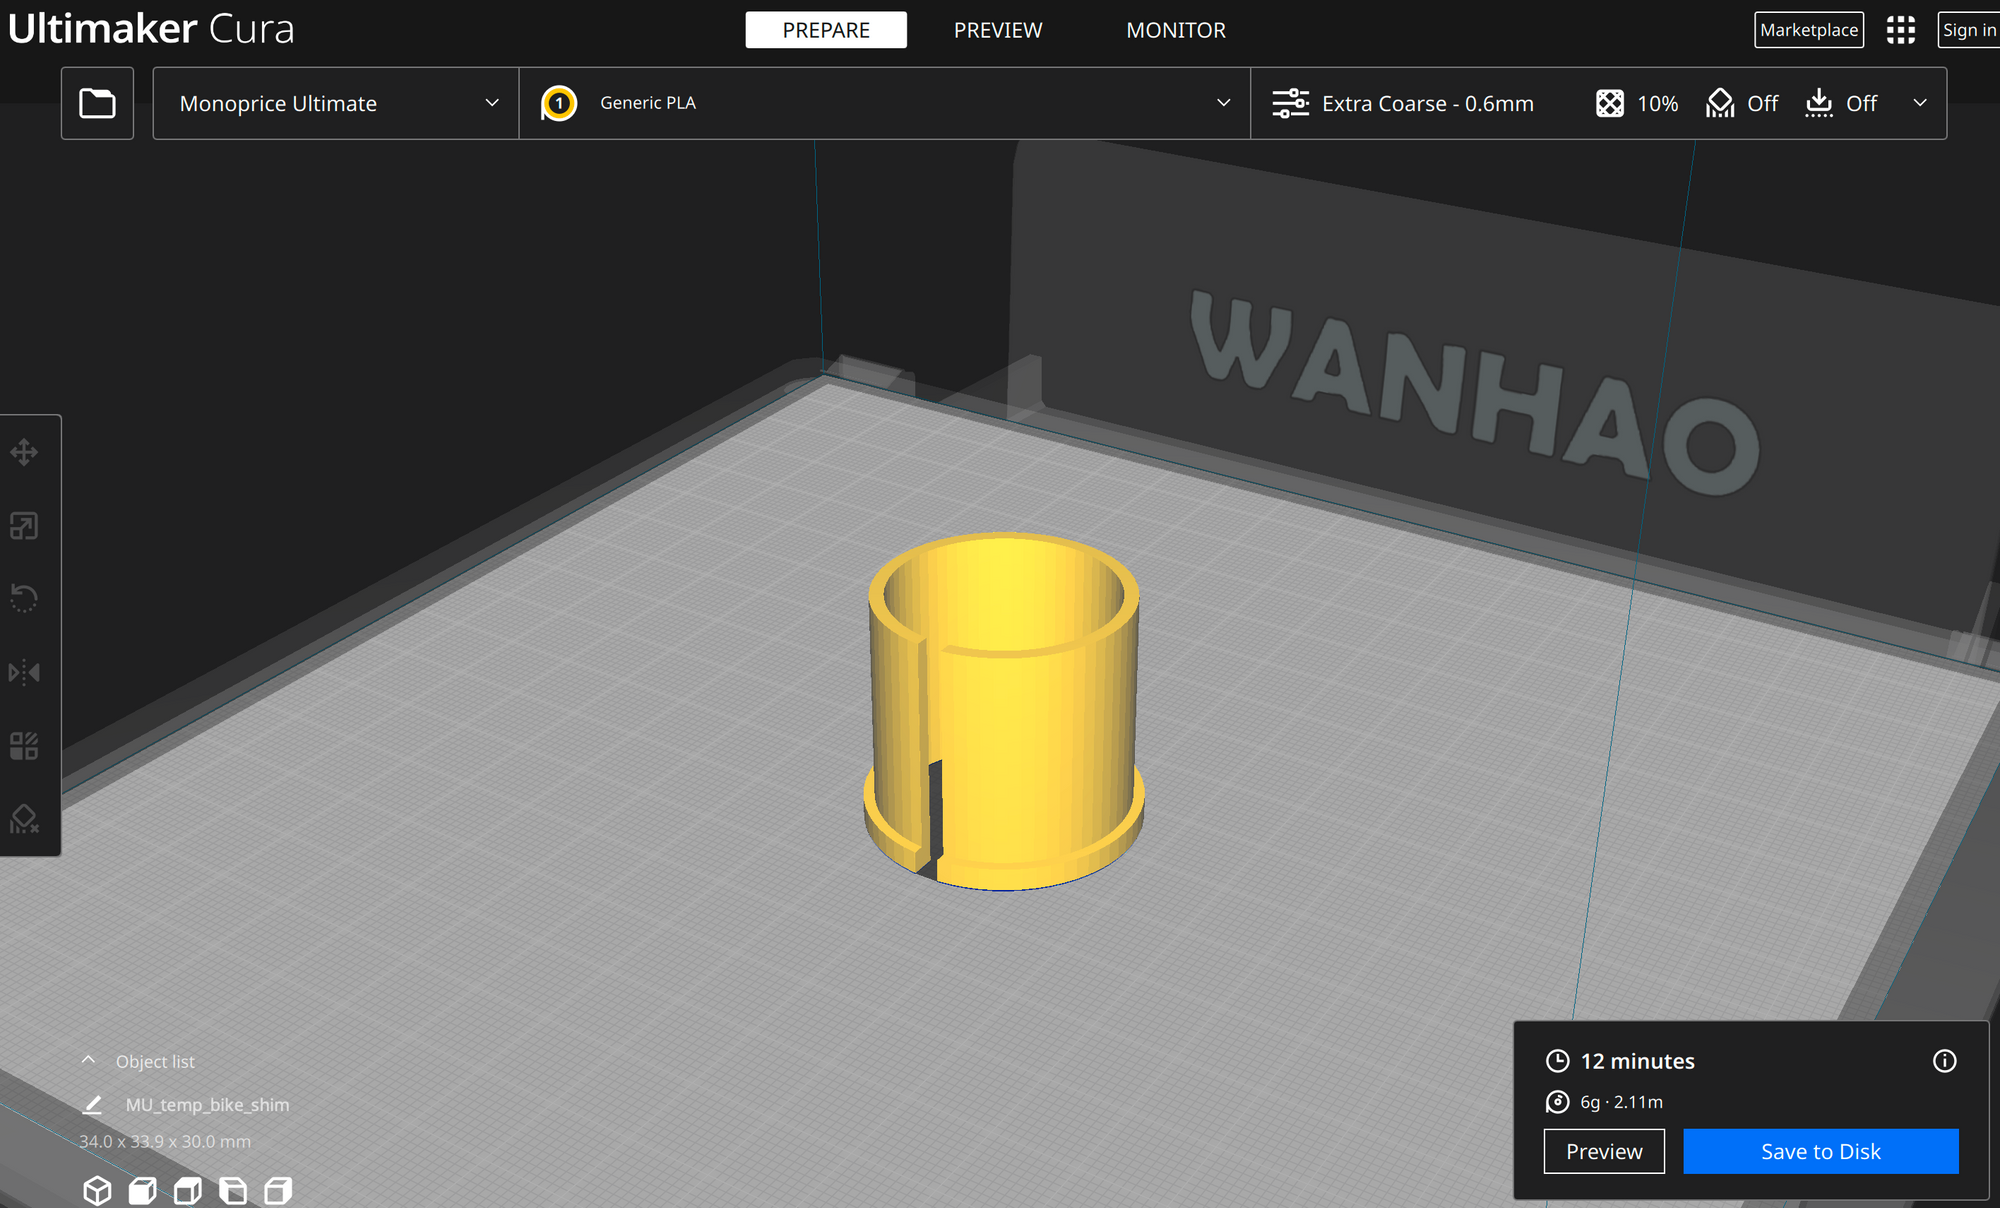
Finally, I upload the gcode file to the 3D printer software to actually talk to the printer and tell it to get to work.
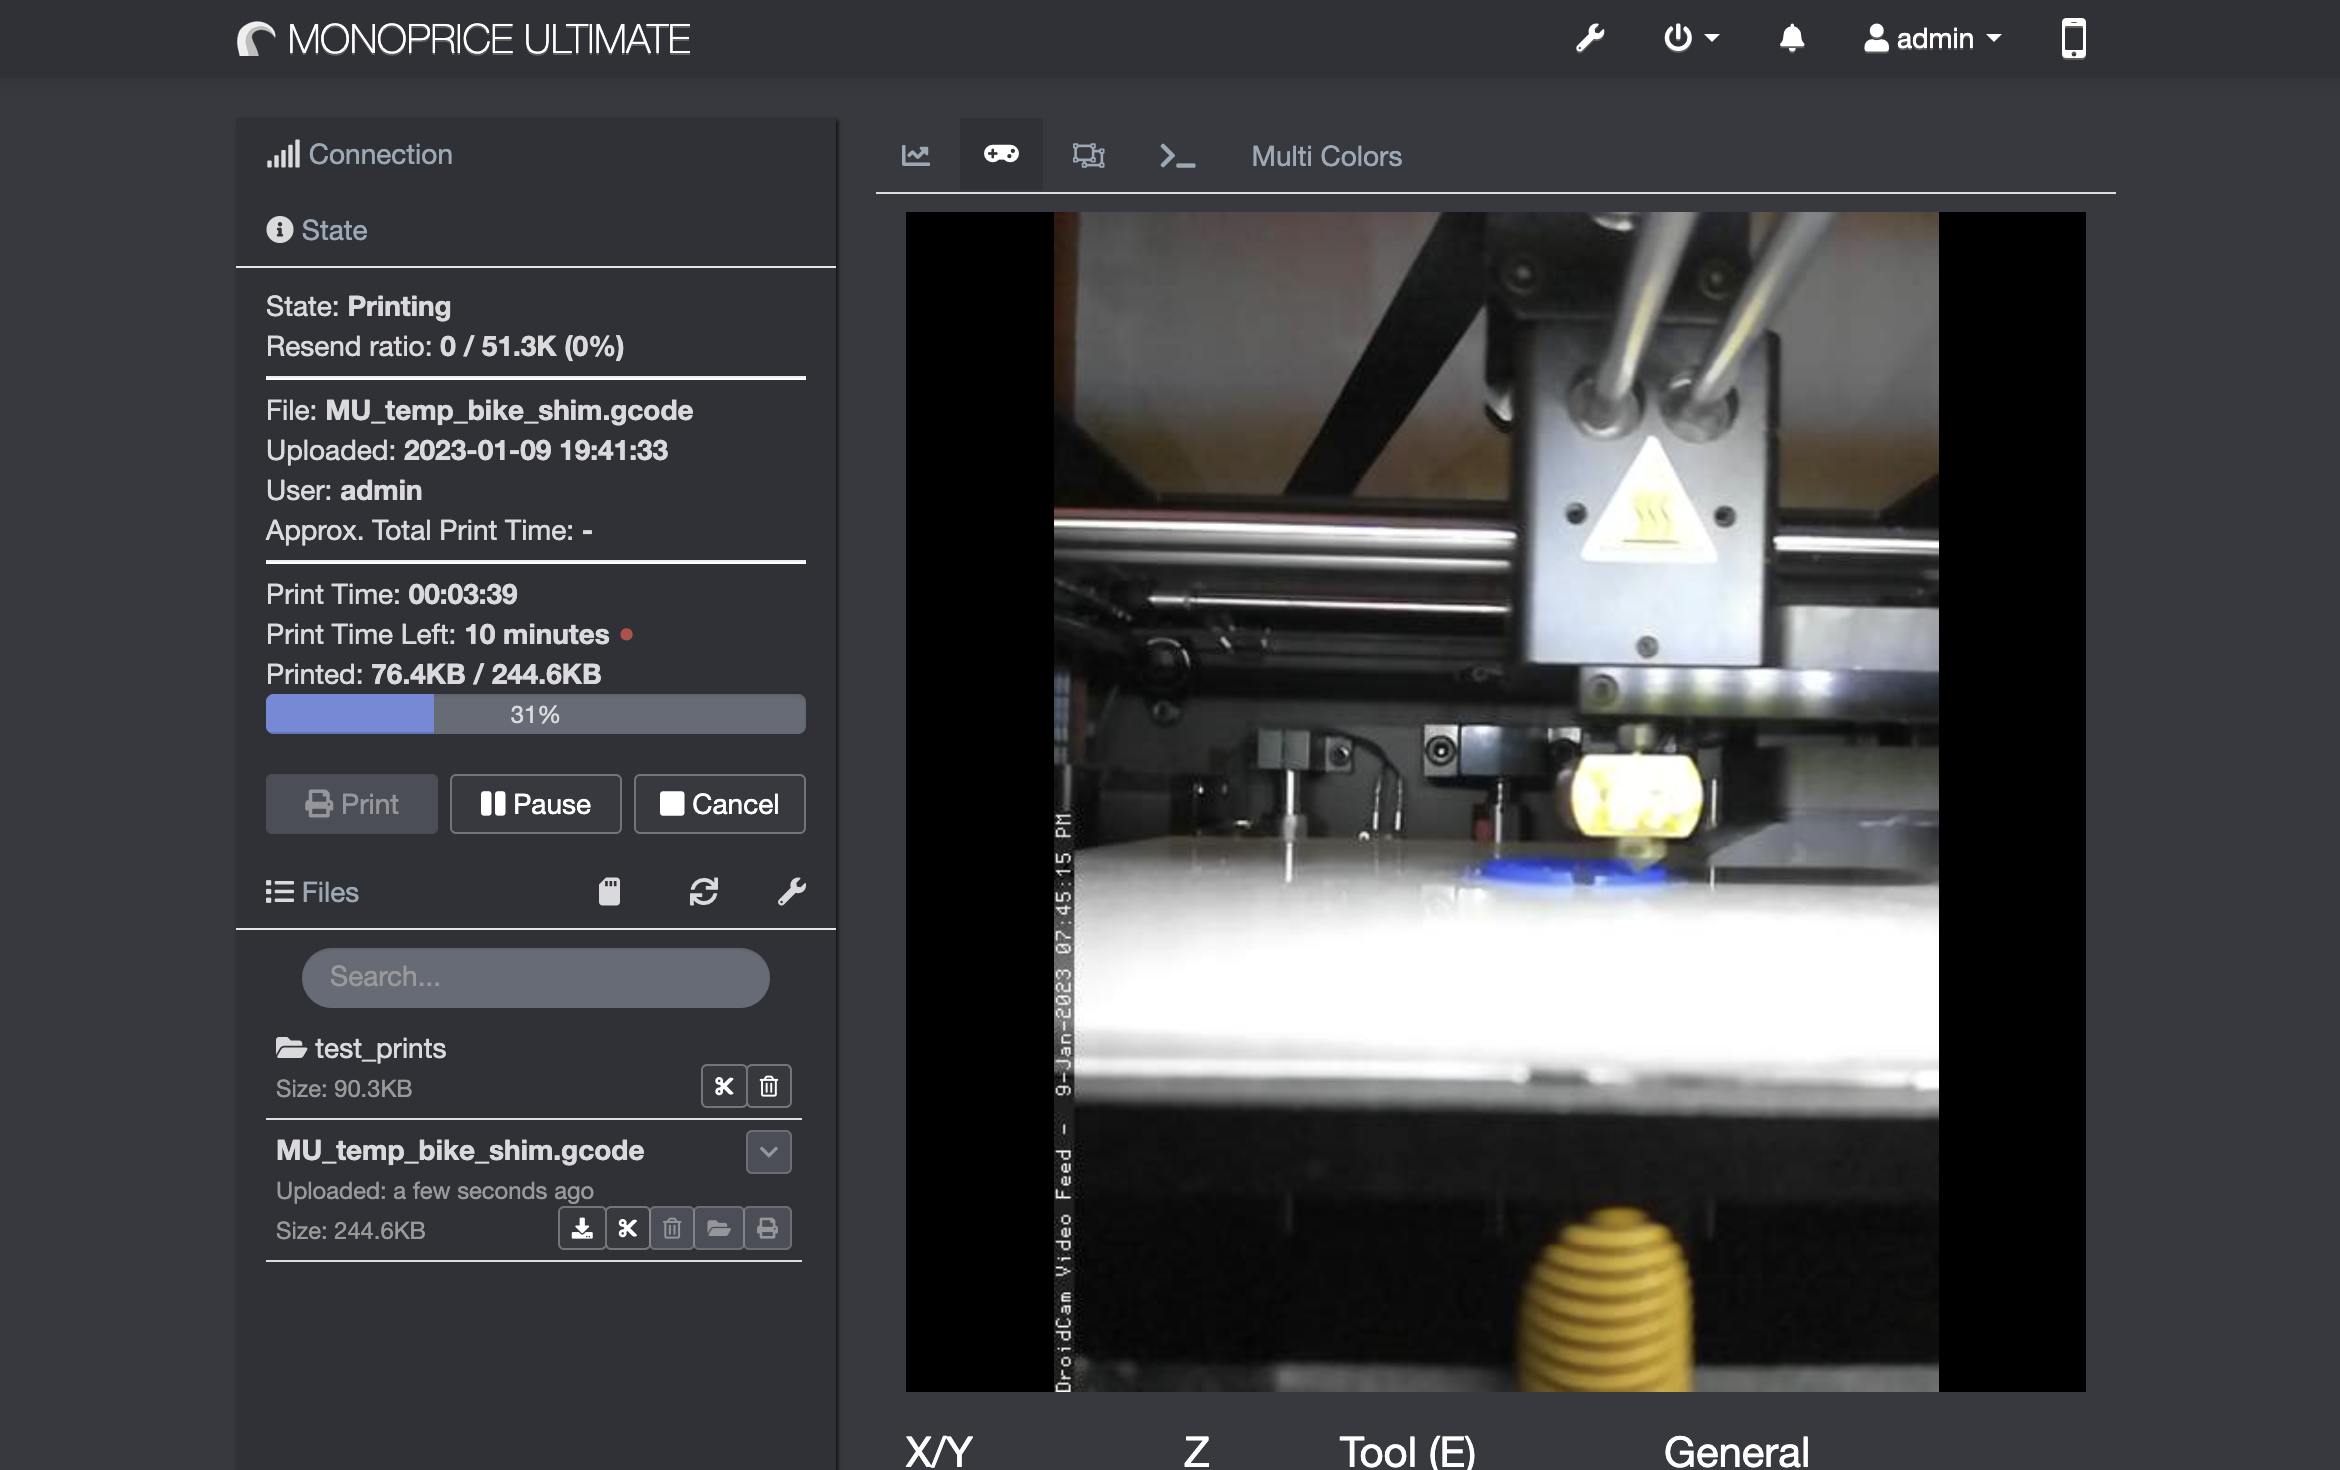
Apologies on the potato quality webcam, I am using an old cell phone for my 3D printer cam setup. It works enough to see if the print jobs go sideways and that's about all I need.
Testing the fit
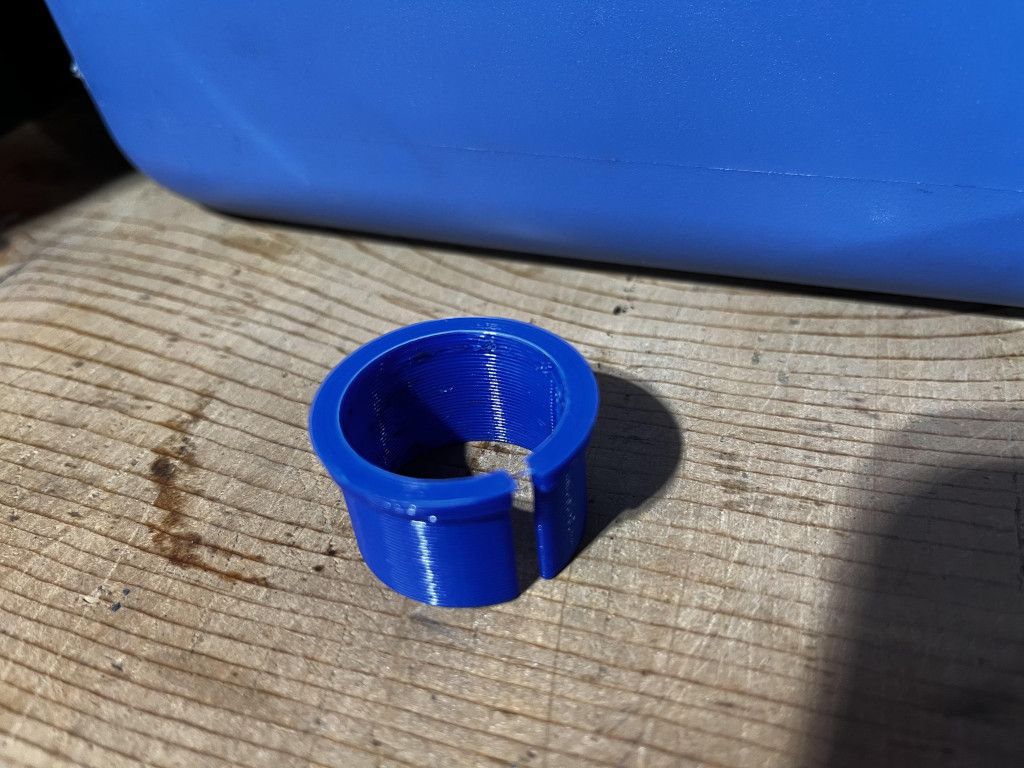
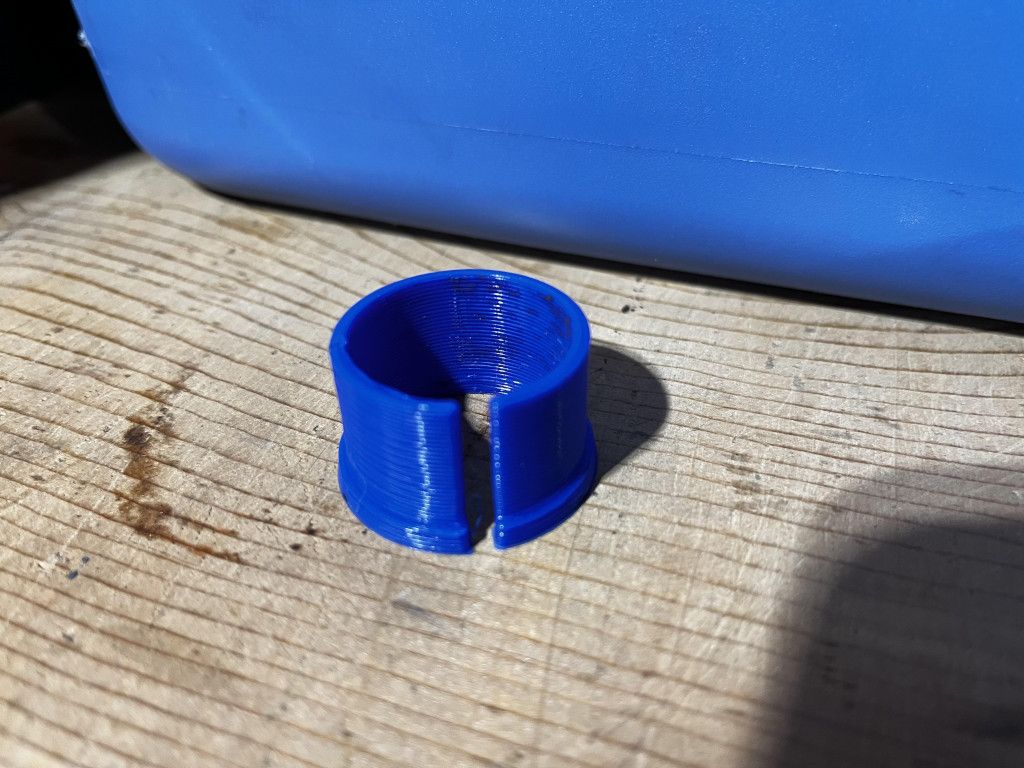
Once I got the right measurements and tweaked the numbers, my print finally fit nicely. It took a few iterations, but when printing at a super fast slicer setting, the iterations took between 5-15 minutes to finish.
The process was, print > test on bike > print again > test on bike until it finally worked the way I wanted.
The final piece was a short shim the worked enough to hold the seatpost in place without any movement.


Now to clean the bike, and take some photos for the ads.
Final Thoughts
I hope this gives some ideas out there to the Internet on how to integrate a 3D printer in to your bike geeking activities.